
Last updated October 9, 2026
Free visual inspection and a written scope of work before any mitigation begins - photos, moisture readings, and drying logs go in your claim file
The scope we write is the scope we bill. Anything new gets shown to you, in writing, before we touch it.
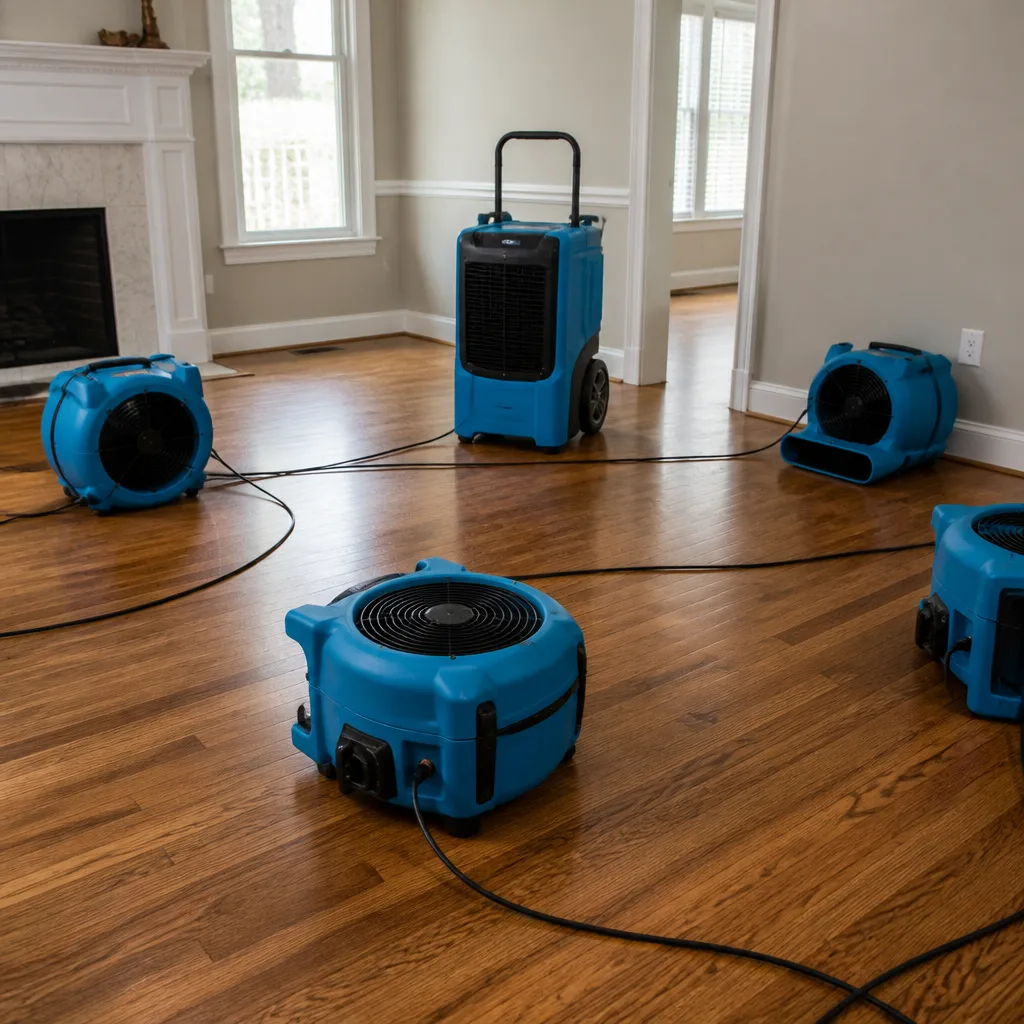
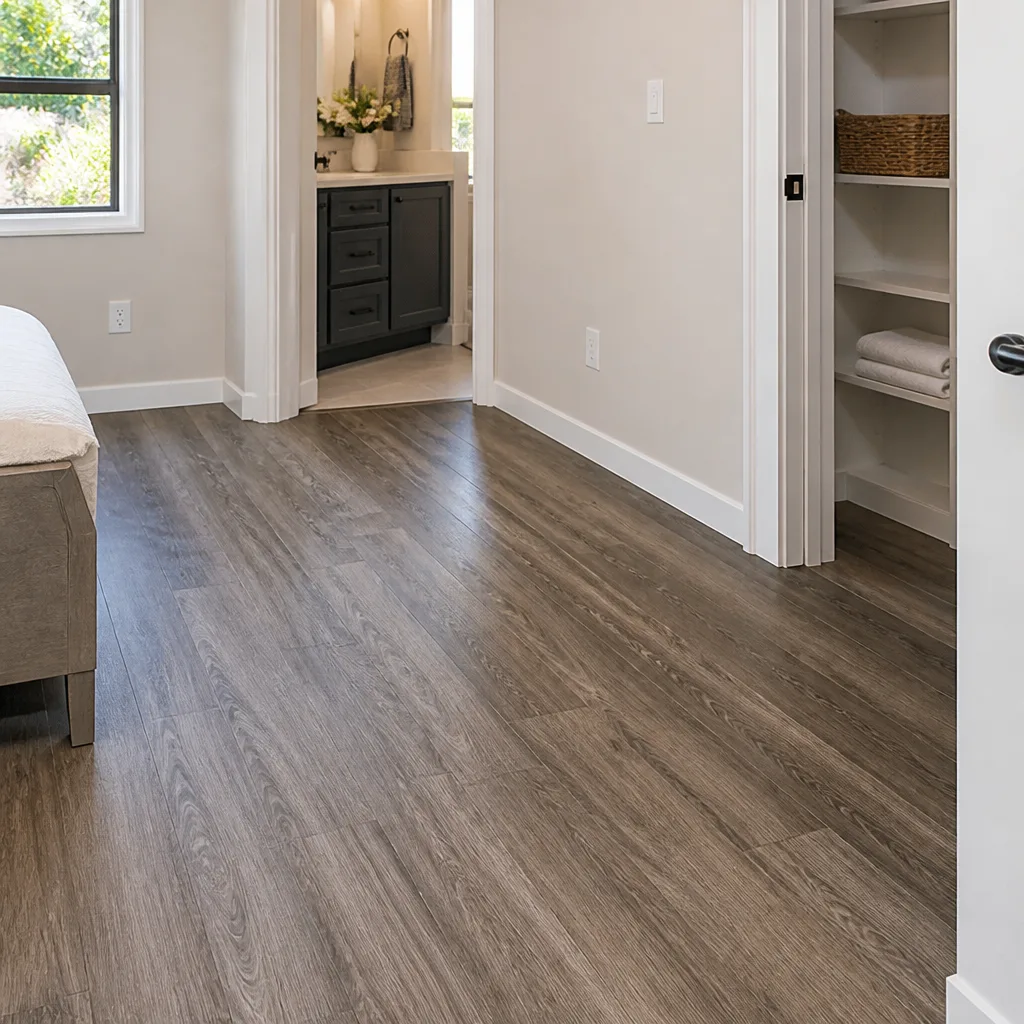

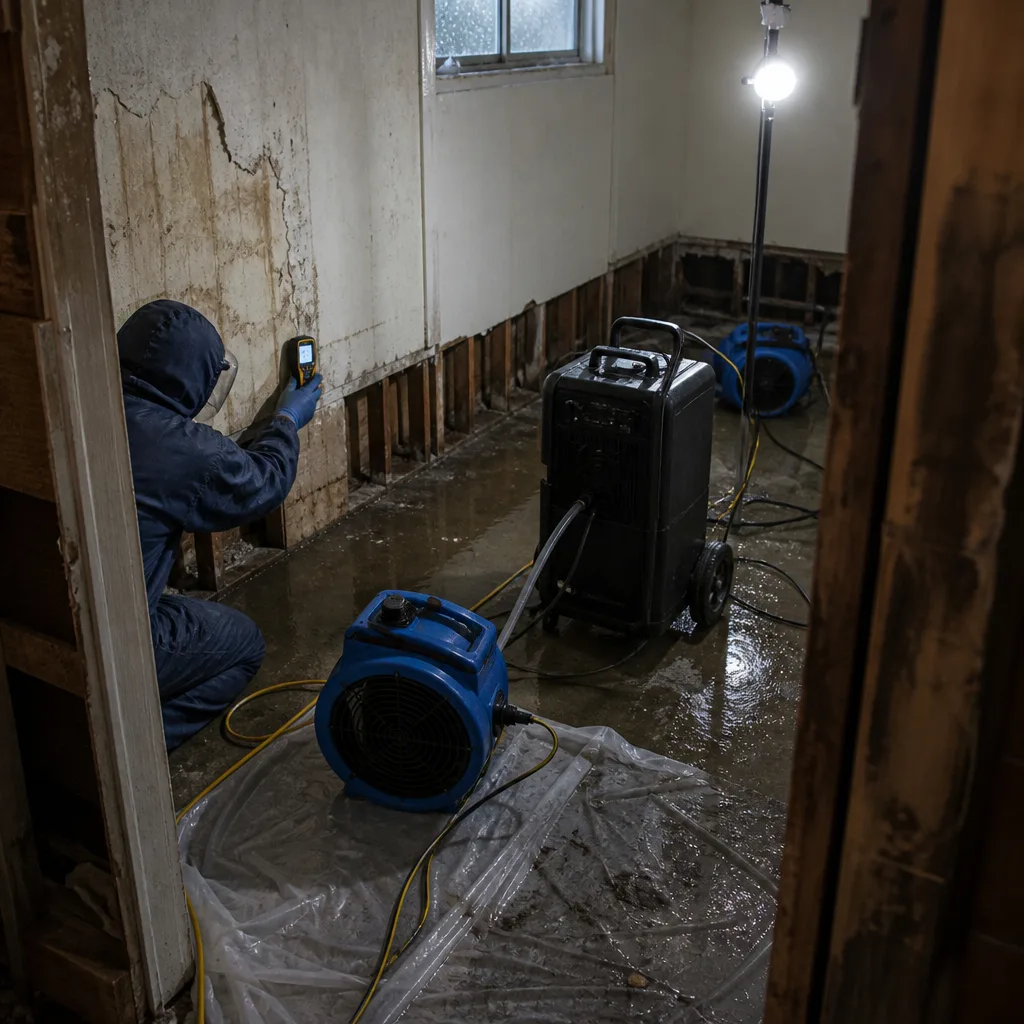 Before
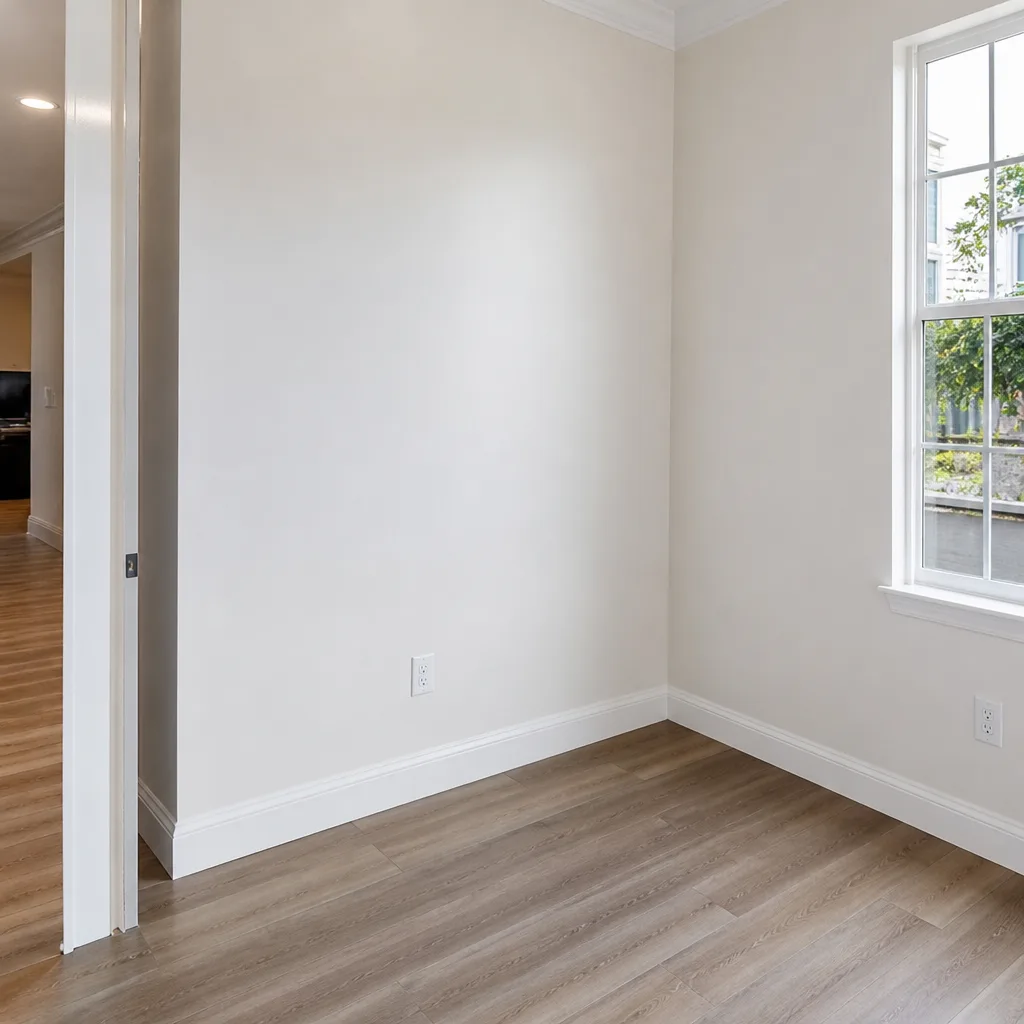 After
After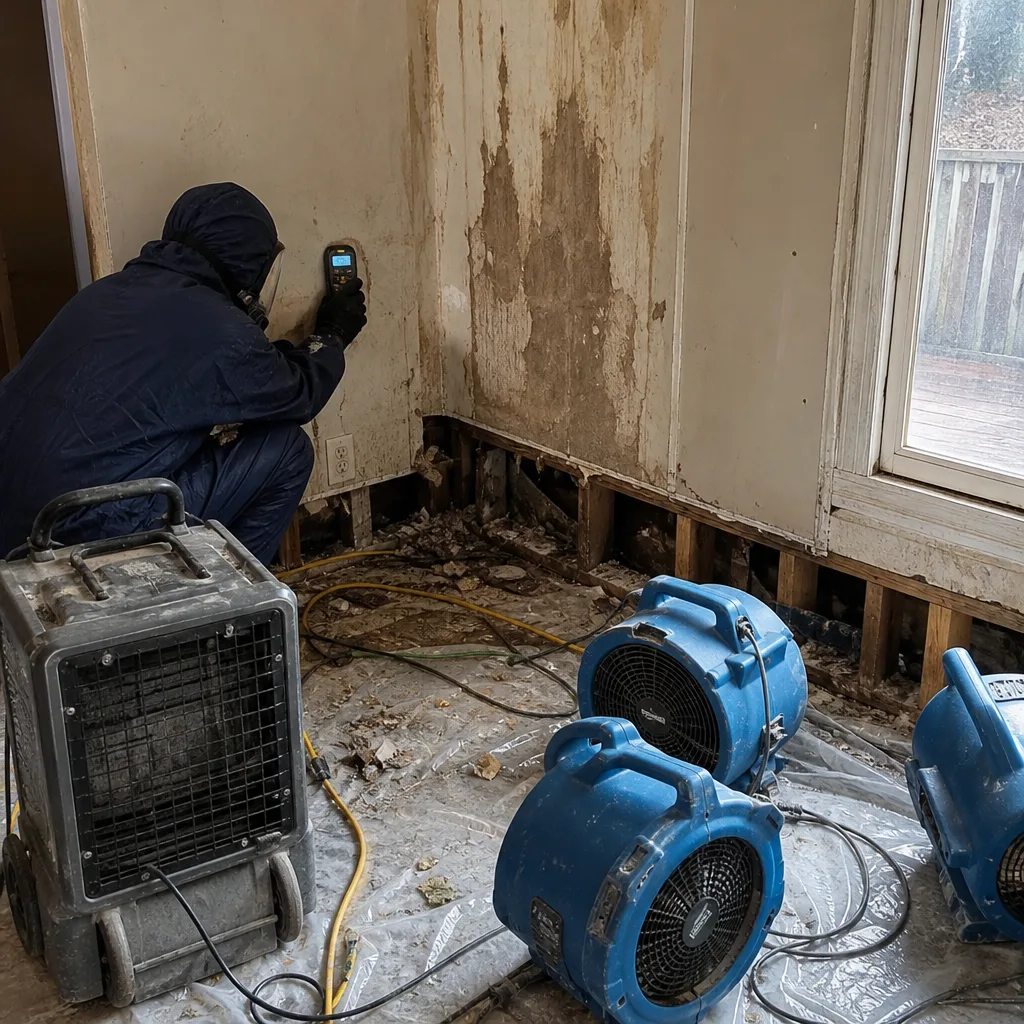 Before
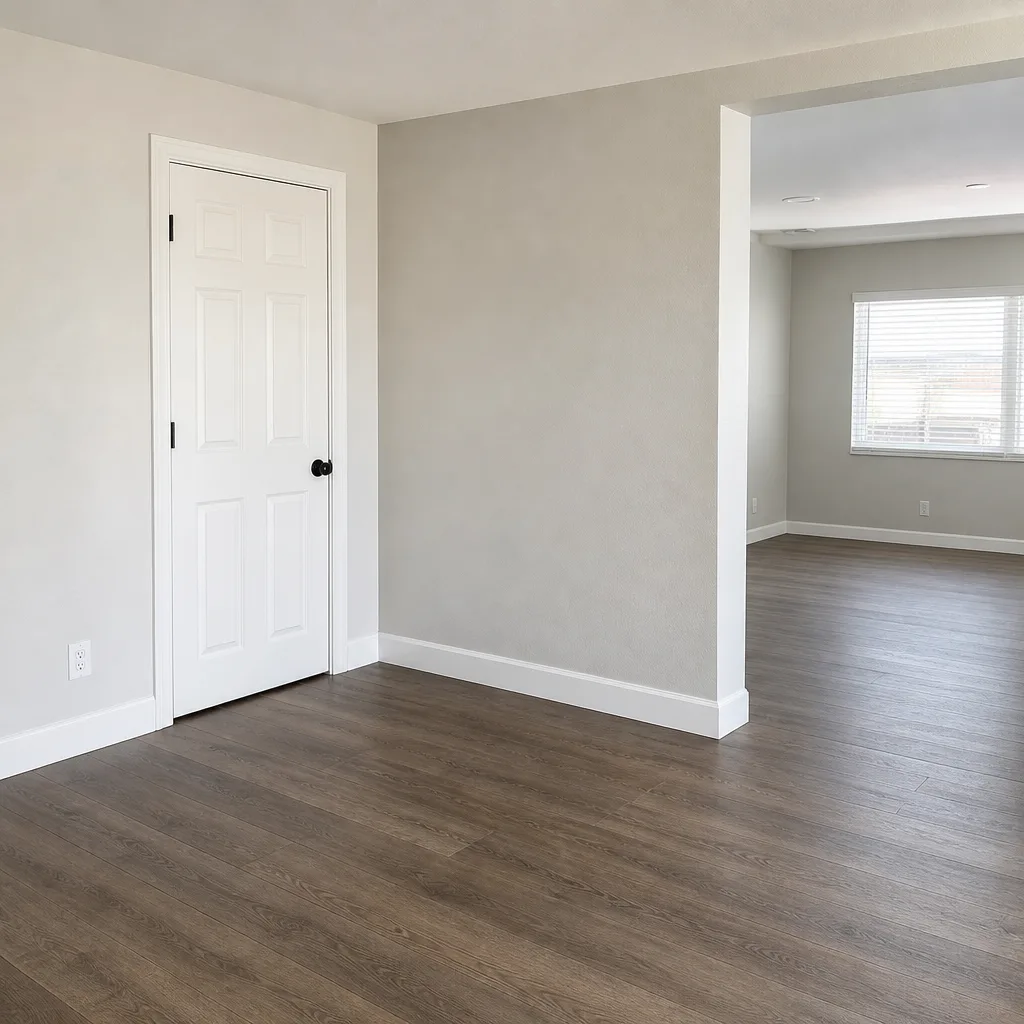 After
After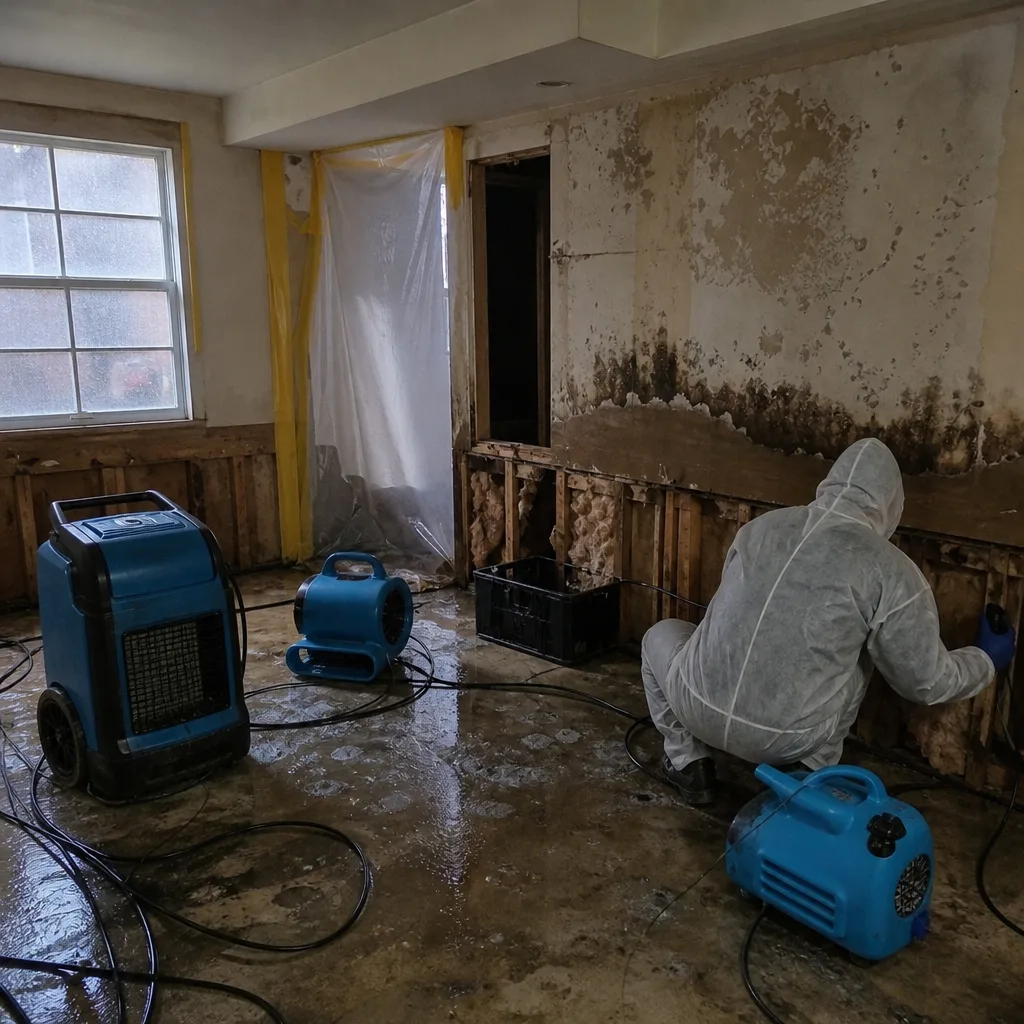 Before
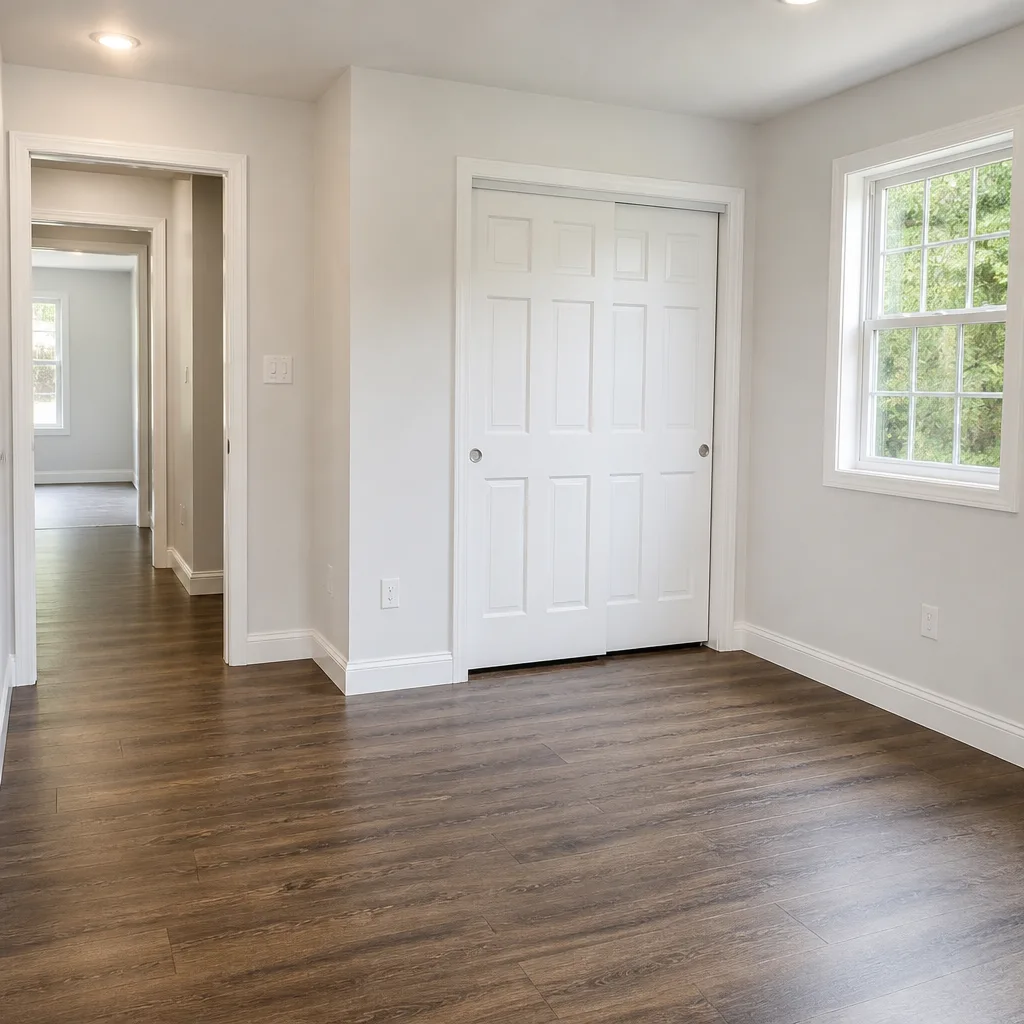 After
AfterDIY vs Professional Mold Remediation: What’s Safe to Do Yourself
The EPA says you can tackle mold yourself if the affected area is under 10 square feet, and technically that’s true. But that guidance assumes you can actually see all the mold, which is almost never the case when it’s growing inside a wall cavity, under flooring, or in the fuzzy gap behind a baseboard. In Los Angeles, where coastal humidity meets tightly sealed older homes, we regularly find that a “small” bathroom patch is actually a colony extending six feet into the stud bay. This guide explains what the 10-square-foot rule actually means, why visible surface area is a poor proxy for mold extent, and how to make an informed decision about when a gloves-and-bleach approach is reasonable versus when it’s actively dangerous.
Quick Answer
DIY mold removal is genuinely safe for small, fully visible surface patches under 10 square feet on non-porous materials, if the moisture source is fixed and you’re not immunocompromised. Professional remediation is warranted when mold covers more than 10 square feet, hides behind walls or under flooring, follows a water event that soaked building materials, or involves species like Stachybotrys that produce mycotoxins. Most Los Angeles homes fall into the our Mold Remediation services category because our construction style hides mold growth until it’s already embedded.
Table of Contents
- What the EPA’s 10-Square-Foot Rule Actually Means
- Why Visible Surface Area Is a Terrible Predictor of Mold Extent
- Which Mold Types Are Safe to DIY (and Which Are Not)
- What Professional Containment Actually Requires
- California Rentals: When DIY Mold Removal Complicates Your Legal Rights
- The Honest Cost Comparison: DIY vs Professional in Los Angeles
- Step-by-Step: Safe DIY Mold Removal for Small Surface Patches
- Common Mistakes to Avoid
- When to Call a Professional
- Frequently Asked Questions
What the EPA’s 10-Square-Foot Rule Actually Means
The Environmental Protection Agency’s mold guidance states that areas under 10 square feet can often be handled without professional help. That’s roughly a 3-foot by 3-foot patch, or the size of a standard bathroom vanity top. The rule was written as a practical threshold for homeowners, not as a medical recommendation. It assumes three things: the mold is on a surface you can reach, the moisture source has already been stopped, and no one in the household has mold sensitivity, asthma, or a compromised immune system.
Here’s what the rule does not say. It does not say bleach kills mold on drywall. It does not say you can skip containment. It does not say a 9-square-foot patch on your bathroom ceiling is equivalent to a 9-square-foot patch on your living room wall. The rule also does not account for what’s behind the surface. In Los Angeles, where a high percentage of homes were built before 1980, interior walls are often drywall over wood framing with zero vapor barrier. Water that soaked those materials can support hidden mold for months before you see the first dark spot.
Think of the 10-square-foot rule as a starting point for assessment, not a permission slip. Before reaching for a bottle of bleach, ask: is this patch on tile, glass, or sealed concrete? Those are non-porous surfaces where surface cleaning genuinely works. Is it on drywall, carpet, or wood? Those materials are porous, and mold roots penetrate below the surface where wiping never reaches.
Our teams at Wendell Water Damage Restoration have responded to hundreds of Los Angeles mold calls where a homeowner cleaned a “small” patch three times, only to watch it return each time. The cleaning wasn’t failing. The moisture source was still active behind the wall, feeding the colony from the inside out.
Why Visible Surface Area Is a Terrible Predictor of Mold Extent
Mold grows wherever moisture exists, and moisture doesn’t respect the boundaries of what you can see. A one-square-foot stain on a bedroom wall in a Silver Lake bungalow might connect to a four-foot-wide colony inside the wall cavity, fed by a slow plumbing leak that has been dripping for eight months. The visible stain is just the part of the fungus that reached the surface. Think of it like an iceberg: what you see above the waterline is usually a fraction of what sits beneath.
There are non-invasive methods to assess what’s actually there before you commit to DIY or professional remediation. We use these daily in Los Angeles homes:
- Air sampling: A calibrated pump pulls a known volume of air across a collection cassette. The lab analyzes the sample for spore types and concentrations. The key comparison is indoor versus outdoor readings. If your indoor spore count is significantly higher than outdoor air collected at the same time, you have an active indoor source. Air sampling often catches hidden colonies because spores travel through wall cavities and electrical outlets into living space.
- Thermal imaging: A thermal camera detects temperature differences in walls, floors, and ceilings. Wet building materials hold heat differently than dry ones. A cold patch behind a wall with no visible stain often indicates trapped moisture, which means mold is likely present even if you can’t see it. This is standard practice under professional mold remediation in Los Angeles.
- Moisture meters: Pin-type and pinless meters measure the moisture content of building materials. Drywall above 1% moisture content on a wood moisture equivalent scale signals a problem. Studs above 16% support active mold growth. A 30-second sweep around a visible patch often reveals the wet zone extends far beyond what you’d guess.
- Borescope inspection: A small camera inserted through a quarter-inch hole shows what’s happening inside a wall cavity without destructive tear-out. This is the least invasive way to confirm whether a small surface patch is an isolated issue or the tip of a much larger problem.
The takeaway: visible square footage is not the metric that matters. The metric that matters is the extent of wet building material. A two-square-foot patch on a wall that’s dry behind the surface is a cleaning project. A two-square-foot patch on a wall that’s wet six inches up the backside is a removal project.
Which Mold Types Are Safe to DIY (and Which Are Not)
Not all mold is the same, and the species matters when you’re deciding between DIY and professional remediation. Some common household molds are relatively benign when cleaned properly. Others produce mycotoxins that become airborne during disturbance, creating an exposure risk that far outweighs the cost savings of DIY.
Generally safe for DIY (small, visible patches on non-porous surfaces):
- Cladosporium: The most common outdoor mold in Southern California. Dark green or black, often found on bathroom tile grout, window sills, and exterior walls. Grows on surfaces rather than penetrating deep into materials. Surface cleaning is usually effective.
- Penicillium: Blue or green, powdery, often found on food, drywall, and carpet after water damage. Spreads fast but responds well to proper drying and surface treatment on non-porous surfaces.
- Alternaria: Dark, velvety patches that appear in damp kitchens and bathrooms. Common in Los Angeles homes near the coast. Surface growth on tile and sealed surfaces is cleanable without specialized equipment.
Not safe for DIY under any circumstances:
- Stachybotrys (often called “black mold”): Dark greenish-black, slimy, requires constant moisture. Produces mycotoxins that become airborne when disturbed. Cleaning this yourself releases spores and toxin particles into your breathing space. This species is common in Los Angeles homes that experienced water damage from a leaking pipe or roof, sat wet for more than 48 hours, and never dried properly.
- Chaetomium: White to gray, cotton-like, with a musty odor that’s often the first sign of a hidden problem. Grows on water-damaged drywall and wood. Also produces mycotoxins. Frequently found alongside Stachybotrys in chronic moisture conditions. Disturbing it during DIY cleaning spreads spores throughout the home.
- Aspergillus in significant quantities: Some species produce aflatoxins. While small amounts on a shower curtain are manageable, extensive growth on drywall after flooding warrants professional removal with containment.
The problem is identification. Homeowners regularly misidentify mold species by color alone, and that mistake has consequences. Black mold is not always Stachybotrys, but Stachybotrys is always black or very dark. Bleach lightens visible staining, which makes it impossible to identify what you actually had. Once you’ve wiped a patch with bleach, the lab won’t be able to tell you what it was. Professional mold testing in Los Angeles typically costs $350 to $650 for comprehensive air and surface sampling, and it tells you exactly what’s growing before anyone disturbs it.
What Professional Containment Actually Requires
Containment is the difference between removing mold and moving mold. Without it, every brush stroke, every scrub, every spray of cleaning solution sends spores airborne, and those spores drift through your home looking for the next damp spot. In a Los Angeles home with forced-air HVAC, one DIY scrub session can spread spores through every room connected to the ductwork within minutes.
Professional containment under IICRC standards (the gold standard for mold remediation, which our technicians follow) involves three layers:
- Negative air pressure: A HEPA-filtered air scrubber pulls air out of the containment zone, creating lower pressure inside than outside. Air flows into the work area through intentional gaps, not out of it through unintentional ones. This is not achievable with a box fan in a window. The equipment is sized based on the room’s cubic footage and air changes per hour required.
- Polyethylene barriers: Six-mil plastic sheeting is used to seal doorways, vents, returns, and any other openings. Two layers are standard for large jobs. The barrier gets sealed with tape specifically designed not to damage painted surfaces. Improvised containment using drop cloths or painter’s plastic leaks around edges, and a leaky barrier is often worse than no barrier because it creates a false sense of safety.
- Decontamination chamber: A three-stage entry and exit system with a clean side, a dirty side, and a transition zone in between. Technicians enter through one path and exit through another, removing contaminated coveralls in the dirty chamber before stepping into clean space. This prevents tracking spores into your living room on clothing and equipment.
There’s also the matter of air scrubbers positioned throughout the home during remediation to capture any spores that escape despite containment. Professional-grade units with HEPA filtration capture 99.97% of particles at 0.3 microns, including mold spores. A standard household HEPA air purifier helps, but it’s not designed for the volume of airborne spores released during active mold disturbance.
Here’s the thing about improvised containment: a plastic sheet taped across a doorway with no negative air pressure creates a balloon effect. Every time someone walks through it, or the HVAC kicks on, or a window gets opened, the sheet is disturbed and the air pressure equalizes. Spores from inside the work zone rush out. You’d have been better off containing nothing and doing the work with windows open, which is its own problem in Los Angeles where outdoor spore counts are already high during the wet season.
California Rentals: When DIY Mold Removal Complicates Your Legal Rights
California has some of the strongest tenant protections in the country when it comes to mold. The state’s Health and Safety Code, along with implied warranty of habitability standards, requires landlords to maintain rental units free of conditions that make them uninhabitable. Mold caused by a persistent water intrusion, a failed roof, a leaking pipe, or chronic high humidity is the landlord’s responsibility. This is not ambiguous in Los Angeles, where the housing department takes mold complaints seriously.
Here’s where DIY becomes a legal problem for tenants. If you attempt to remove mold yourself and the removal fails, or worse, spreads the mold, the landlord can argue that you made the problem worse. California law allows landlords to deduct tenant-caused damage from security deposits, and a botched remediation is easily framed as tenant-caused damage. You’ve taken an open-and-shut habitability case and created a dispute about who caused what.
There’s also the issue of documentation. A professional remediation company photographs everything before, during, and after work. Those photos are timestamped, logged, and available for insurance claims or legal proceedings. A tenant with a phone camera might have some photos, but a landlord’s attorney will ask: were those photos taken before the unit was disturbed? Can you prove the extent? Did you document the moisture source? A professional assessment from a company that does water damage restoration in Los Angeles produces paperwork that holds up.
For California tenants, the safest path is this:
- Document everything: Photos and video of visible mold, water stains, musty odors, and any water intrusion events. Note dates and times.
- Notify the landlord in writing: Email is fine, but text messages work too. California law requires landlords to respond to habitability complaints within a reasonable timeframe, generally 30 days for non-emergency repairs, much faster for active water intrusion.
- If the landlord fails to act: Contact the Los Angeles Housing Department. They can inspect and issue citations. You can also pursue repair-and-deduct remedies, but those have specific procedural requirements.
- Do not DIY: If the landlord won’t respond and you’re considering cleaning it yourself because your family’s health is being affected, that’s a sign you should call a professional, not a bottle of bleach. Professional remediation companies document everything independently of either party in the dispute.
For Los Angeles landlords reading this: mold remediation is not a tenant chore. It’s a landlord expense you can often put through your property insurance. Cutting corners on mold responses creates liability exposure that dwarfs the cost of doing it right. Our team provides the written documentation, before-and-after photos, and moisture mapping that protect you if a dispute ever reaches a courtroom.
The Honest Cost Comparison: DIY vs Professional in Los Angeles
Let’s talk numbers. Actual numbers, not vague “it depends” answers. These are the costs we see regularly in Los Angeles as a company that does mold remediation in this market and knows what the real numbers look like.
DIY mold removal for a small, truly surface-level patch (under 10 square feet, no hidden moisture):
- N95 respirator (not a dust mask): $25 to $40 for a box
- Nitrile gloves: $10
- Safety goggles without vents: $15
- HEPA shop vacuum filter: $35 to $60
- Antimicrobial cleaner (not bleach; we’ll cover that below): $20 to $35 per gallon
- Disposable coveralls: $15
- Heavy-duty garbage bags and tape: $15
- Total: $135 to $190
That’s for the safe version of DIY. Most people skip the respirator, goggles, and coveralls, and buy a $4 bottle of bleach instead, which brings their out-of-pocket to about $25. They also skip the pre-existing moisture problem, which means the mold returns in three to six months and they spend the $25 again, plus the materials they’ve now ruined with mold.
Professional mold remediation in Los Angeles for a typical 50-square-foot bathroom or closet job:
- Mold inspection and testing (air and surface): $350 to $650
- Containment setup (negative air, poly barriers, decon chamber): $400 to $800
- Remediation labor (removal of affected drywall, cleaning of framing, HEPA vacuuming): $800 to $1,500
- Antimicrobial treatment: $150 to $350
- Moisture source repair (if the leak is accessible): $200 to $1,200 depending on the source
- Clearance testing (post-remediation verification): $250 to $500
- Total range: $2,150 to $5,000
That’s a significant number, and nobody should pretend otherwise. But here’s the part DIY cost comparisons usually leave out: what re-remediation costs when DIY fails. If you clean a surface patch without addressing hidden mold, and the colony spreads into the wall cavity and up the studs, your 10-square-foot problem becomes a 40-square-foot problem. The remediation cost triples. If the spread affects structural framing, you’re now looking at water damage repair in Los Angeles costs on top of mold removal.
A failed DIY vs Professional Water Damage Repair: What’s Safe to Do Yourself attempt also complicates insurance coverage. Insurance carriers regularly deny mold claims when the homeowner’s own actions made the problem worse. We see this pattern frequently: a homeowner attempts DIY, the mold returns worse than before, the carrier declines the claim because of the DIY attempt documented in photos, and the full professional cost falls on the homeowner.
We’re not saying every small patch needs a $3,000 remediation. We’re saying the decision should be based on an honest assessment of the moisture source, not the visible square footage. The EPA’s rule assumes a dry surface with a resolved moisture problem. In Los Angeles homes, that assumption rarely holds.
Step-by-Step: Safe DIY Mold Removal for Small Surface Patches
If you’ve confirmed the patch is under 10 square feet, on a non-porous surface (tile, glass, sealed countertop, sealed concrete), the moisture source is fixed, and no one in the household has respiratory conditions, here’s the safe process. We follow IICRC principles on every job we do, and these steps reflect the same logic applied to a small-scale situation.
- Turn off the HVAC system: Shut down your forced-air system before you start. You don’t want the fan pulling disturbed spores into the ductwork and distributing them through the house. Cover the nearest supply and return vents with plastic sheeting and painter’s tape if the area has them.
- Set up basic containment: Close the door. Tape plastic sheeting over any gaps around the door. Open a window if weather permits and position a box fan blowing outward to create a crude exhaust path. This is not professional containment, but for a small surface job it directs airborne spores out of the structure instead of into hallway air.
- Put on your PPE: N95 respirator, nitrile gloves, and safety goggles. No exceptions. You’re going to be disturbing fungal material. Your lungs don’t need that.
- Do not use bleach: Bleach doesn’t kill mold on porous surfaces, and on non-porous surfaces it’s less effective than EPA-registered antimicrobial products. Bleach is mostly water, which feeds the mold you’re trying to kill, and its active ingredient evaporates faster than it penetrates. Use an EPA-registered antimicrobial cleaner designed for mold, which you can buy at any Los Angeles hardware store for around $25 per gallon.
- Clean the surface, don’t scrub it hard: Apply the antimicrobial cleaner per the label’s dwell time. Usually 10 to 15 minutes. Then wipe in one direction with a disposable cloth, fold the cloth over to a clean section, and repeat. Dispose of each cloth in a sealed bag as you go.
- HEPA vacuum everything in the room: After the visible mold is removed, run a HEPA-filtered shop vacuum around the immediate area, along the baseboards, and across any horizontal surfaces in the room. This captures spores that settled during the cleaning process.
- Dry the area thoroughly: Moisture is the only reason mold was there in the first place. Run a dehumidifier in the room for several days. You can buy a decent unit for $180 to $250, or rent a larger one. Keep the area below 50% relative humidity. In Los Angeles, especially during coastal June gloom or winter rain, this step matters more than the cleaning itself.
- Throw away everything you used: Used cloths, tape, plastic sheeting, and the respirator filters all go into sealed bags before leaving the room. Wash your clothes separately and run the washing machine empty with bleach afterward if you’re concerned about spore transfer.
If this process feels like more than you signed up for, that’s the point. Safe mold work is methodical. It’s slow. It requires attention to containment and air quality. If you’re not willing to do all the steps, check out more guides & resources before deciding-you’re not really saving money. You’re just skipping steps, and skipped steps are what turn a small cleaning job into a larger remediation.
Common Mistakes to Avoid
- Using bleach on drywall: Bleach cannot penetrate porous materials. It bleaches the color out of the visible mold, making it look clean while the colony continues growing above, below, and behind the surface. We’ve pulled apart Los Angeles walls where the front face of the drywall was bleach-white and the back was black with Chaetomium.
- Painting over mold without treating it: Mold-killing primer is a real product, but applying it over an active colony is like painting over rust. The mold continues growing through the paint, and eventually the new paint layer wrinkles, peels, or stains. If you’re painting over mold, you’re hiding it from the next buyer, which is exactly the kind of nondisclosure that creates liability in California real estate transactions.
- Assuming a small visible patch means a small problem: In Los Angeles, the patch you see is frequently the tail end of a water trajectory that started somewhere you can’t see. Roof leaks travel down interior wall spaces. Plumbing leaks behind vanities soak subfloors. The visible patch is just where the mold reached the finish surface.
- Skipping the moisture source: This is the big one. We’ve never seen a mold problem that didn’t start with water. If you clean the mold and don’t fix the water, the mold comes back. Every time. The moisture source is the actual problem; the mold is the symptom.
- Running the HVAC during DIY cleaning: Your forced-air system is a spore distribution network. Running it during any mold disturbance, or even within a day or two after, pushes spores into the ducts and distributes them to every room. Shut it down before you start, and consider having the ducts inspected if you’ve had active mold in the house.
- Using a house vacuum instead of a HEPA vacuum: Standard household vacuums exhaust fine particles out of the back end. Vacuuming mold spores with a non-HEPA machine aerosolizes them more aggressively than almost anything else you can do. This is the single worst tool choice in DIY mold work.
When to Call a Professional
Call a professional if the mold covers more than 10 square feet, if it’s growing on drywall or other porous materials, if it appeared after a water event that soaked building materials, if you smell mustiness but can’t find the source, if anyone in the household has respiratory conditions or compromised immunity, if you suspect Stachybotrys or Chaetomium, if the mold is in HVAC ductwork, or if you’re a tenant in a rental unit where mold removal falls under landlord obligations. You should also call if you attempted DIY and the mold returned, or if the moisture source is still unidentified. Wendell Water Damage Restoration offers free estimates in Los Angeles, and you can reach a live person anytime at (940) 466-4354. We put the price in writing before any work starts, and every job includes our 365-Day Done Right Promise in writing.
Frequently Asked Questions
For a typical 50-square-foot bathroom or closet job, professional mold remediation in Los Angeles ranges from $2,150 to $5,000 including testing, containment, removal, antimicrobial treatment, and clearance verification. A full inspection with air sampling typically costs $350 to $650 before any remediation work begins. Every job at Wendell Water Damage Restoration includes a written price before work starts, so you’ll never see an estimate change at the door. Call (940) 466-4354 for a free estimate.
No, bleach is not an effective mold killer on porous materials like drywall, wood, or carpet because it cannot penetrate below the surface where mold roots grow. Bleach is mostly water, which can actually feed the mold you’re trying to remove. Use an EPA-registered antimicrobial cleaner designed specifically for mold, or call a professional if the affected area is larger than 10 square feet or hidden behind building materials.
Mold remediation is typically covered by homeowners insurance when the mold results from a sudden and accidental covered water event, such as a burst pipe or a storm-related roof leak, and when the homeowner responds promptly. Mold caused by long-term neglect, chronic humidity, or maintenance failure is usually excluded. We document everything with before-and-after photos and moisture readings, and our team coordinates with water damage repair in Los Angeles claims adjusters to make sure the paperwork matches what your carrier requires.
Signs of hidden mold include musty odors that don’t have an obvious source, visible staining that returns after cleaning, peeling paint or bubbling drywall, warped baseboards, or a history of water intrusion. Air sampling compares indoor spore counts to outdoor baselines and can detect elevated levels even when visible mold isn’t present. Thermal imaging reveals wet building materials behind wall finishes. If you suspect hidden mold, call us for an assessment before you open up the wall, because opening a wall with active mold releases spores into the room.
A N95 respirator and gloves reduce your exposure during cleaning, but they don’t address containment or proper disposal, and they don’t help the people in your household who aren’t wearing PPE. If the mold patch is under 10 square feet, on a non-porous surface, with the moisture source fixed, a careful DIY cleaning can be safe. If any of those conditions aren’t met, a mask and gloves don’t make it safe; they just make it less immediately hazardous to you.
We answer calls 24/7 with a live person, and our background-checked, uniformed technicians arrive with a live tracking link so you know exactly when they’ll pull up. Most Los Angeles mold inspections are scheduled within 24 to 48 hours. We show up with professional-grade equipment from Dri-Eaz and Phoenix, under IICRC standards, and you get a written price before any work starts. Call (940) 466-4354 and you’ll talk to a human, not a voicemail.
The Bottom Line
The EPA’s 10-square-foot rule is a useful starting point, but it only applies when the mold is fully visible, on a non-porous surface, and the moisture source is already resolved. In Los Angeles homes, hidden moisture and porous building materials mean the visible patch is usually not the whole story. DIY is genuinely reasonable for small, isolated surface mold on tile or sealed surfaces, as long as you skip the bleach, use proper PPE, and shut down the HVAC. For everything else, including hidden mold, large patches, toxigenic species, rental units, and anything involving drywall, professional remediation is not an upsell. It’s the option that actually ends the problem. The Wendell Water Damage Restoration home team has been serving Los Angeles since 2006 with the same straightforward approach: written prices, live arrival times, photo updates by text, and a 365-Day Done Right Promise on every job.
Written by Blake Sorensen, Owner at Wendell Water Damage Restoration, serving Los Angeles since 2006.