
Last updated October 9, 2026
Free visual inspection and a written scope of work before any mitigation begins - photos, moisture readings, and drying logs go in your claim file
The scope we write is the scope we bill. Anything new gets shown to you, in writing, before we touch it.
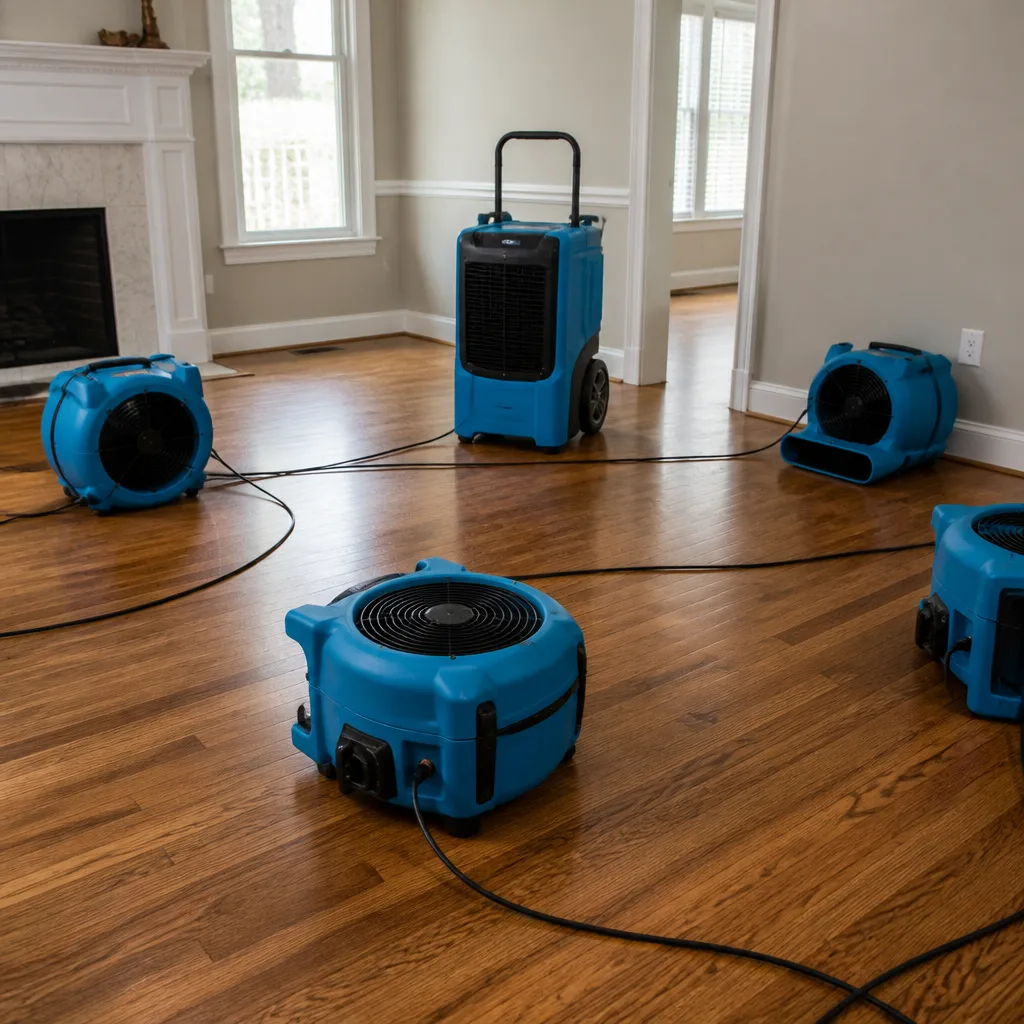



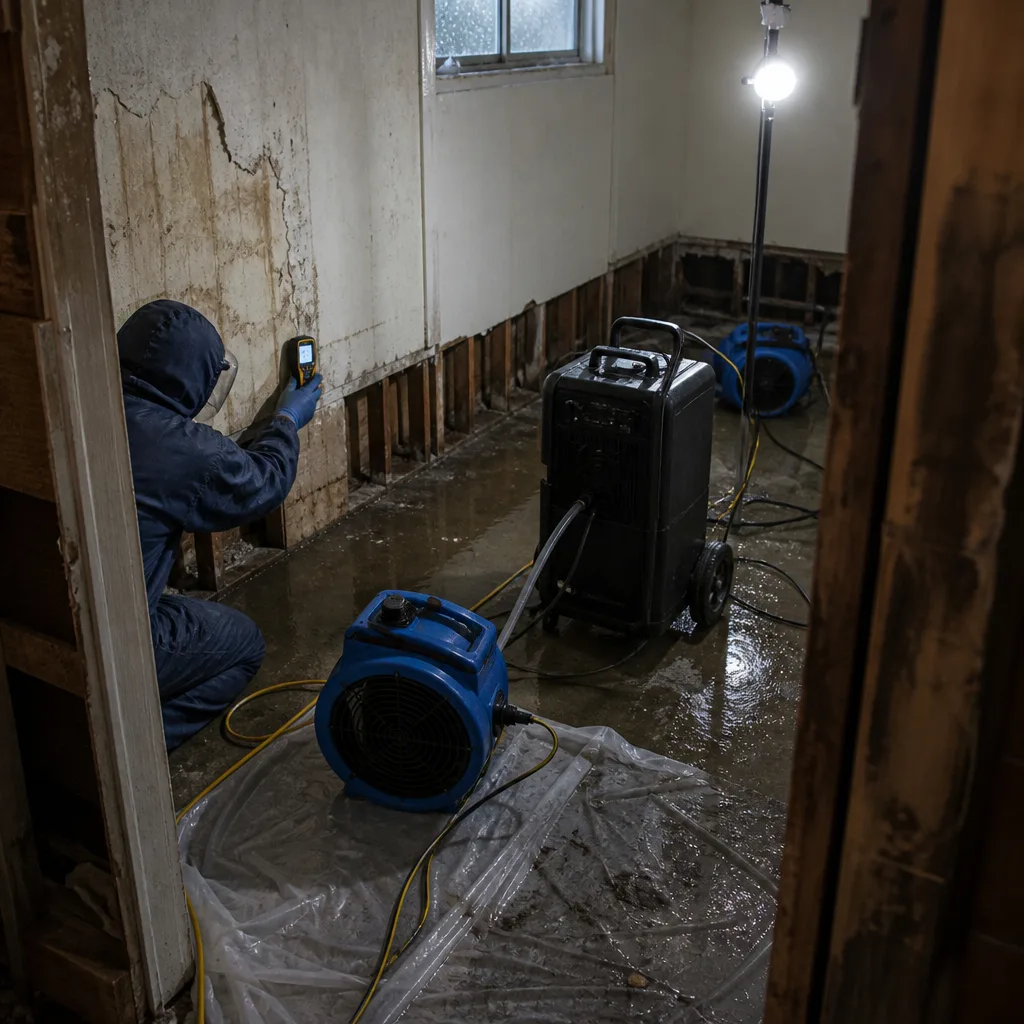 Before
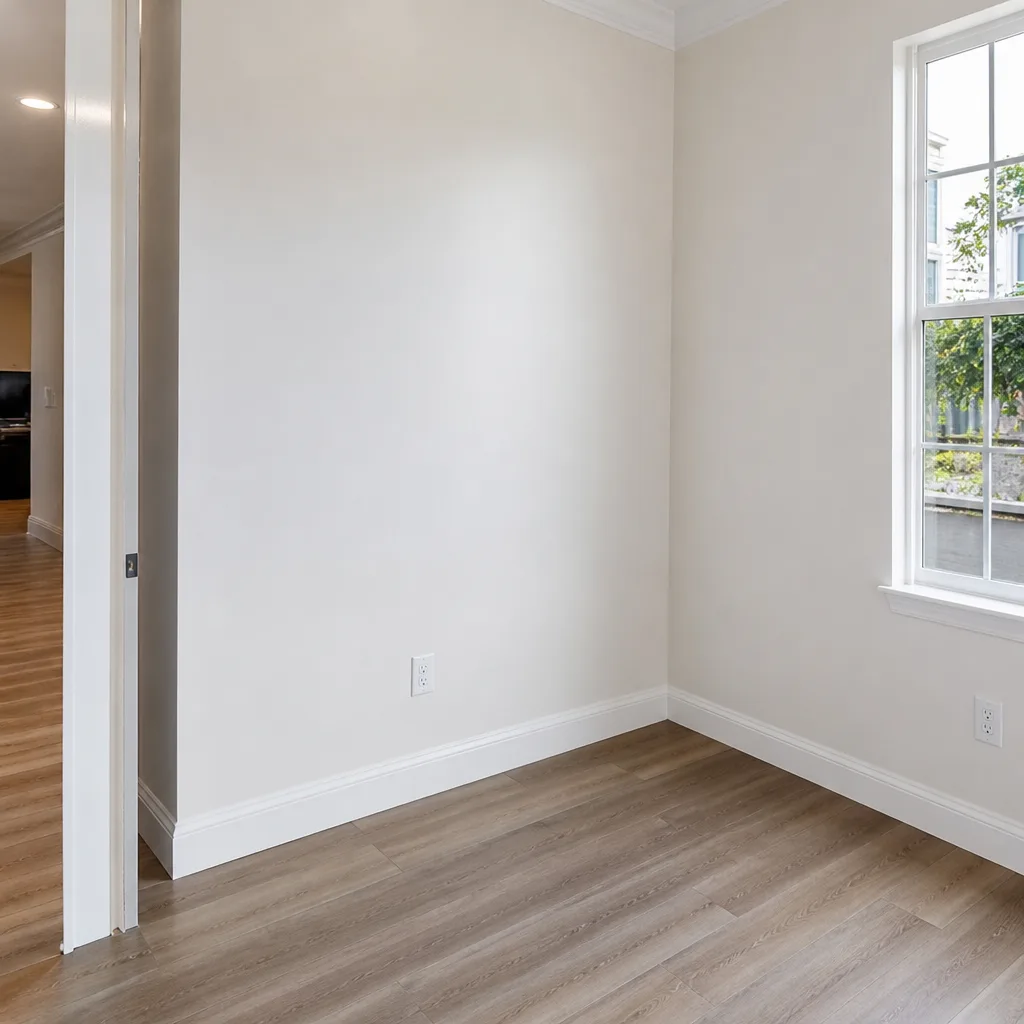 After
After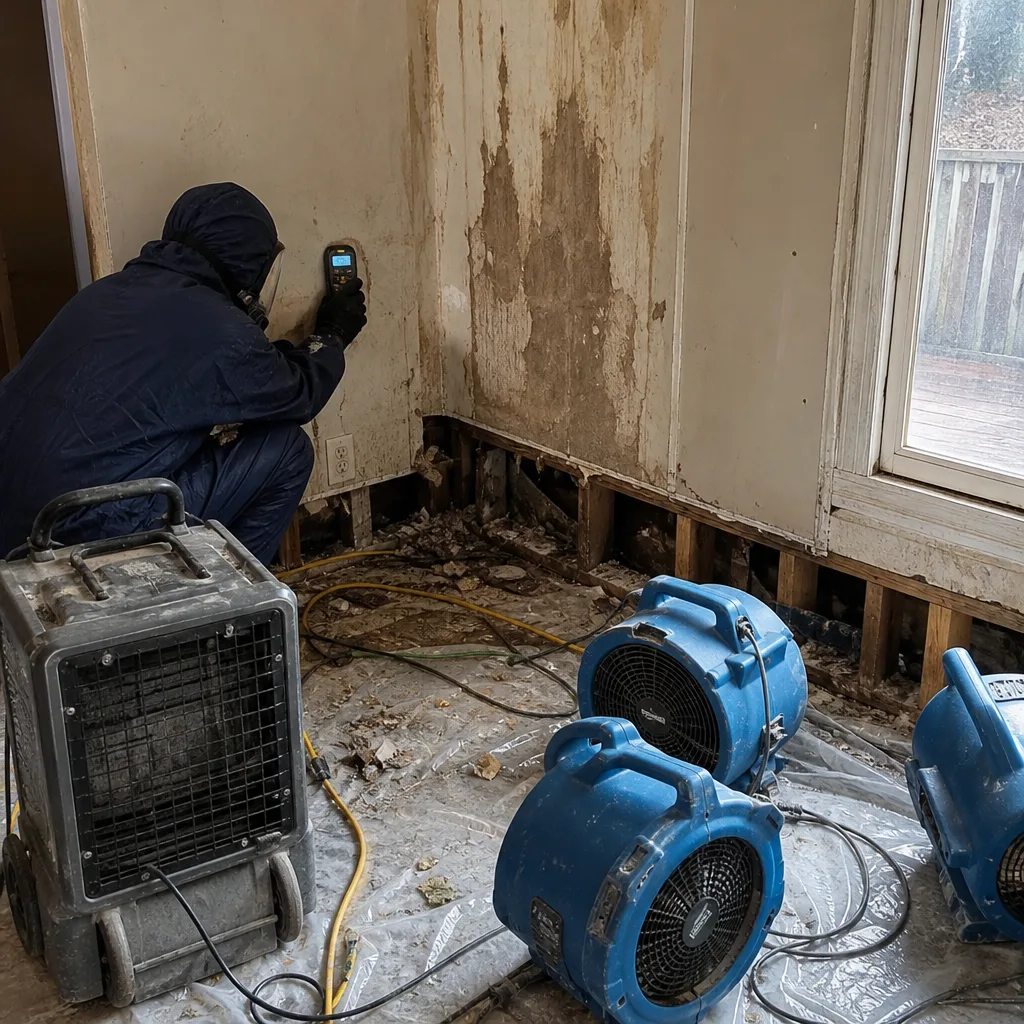 Before
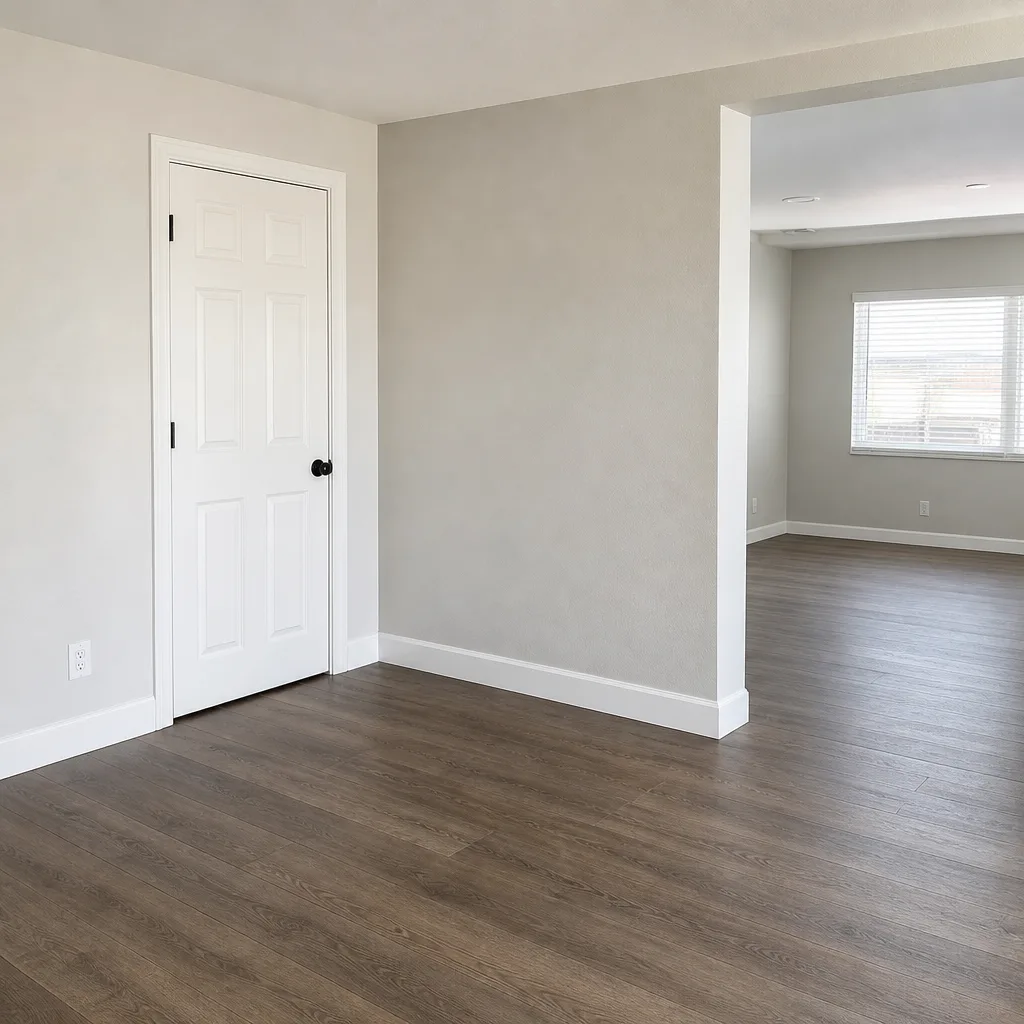 After
After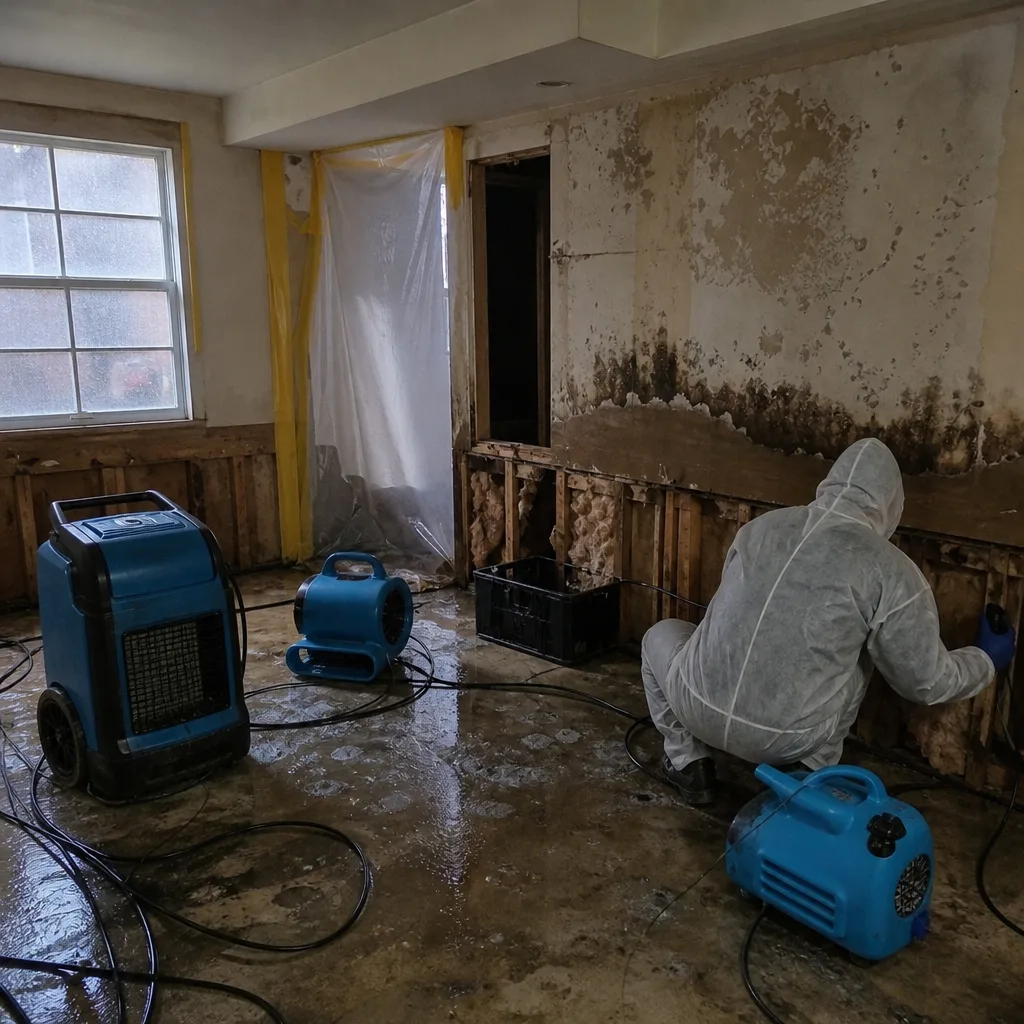 Before
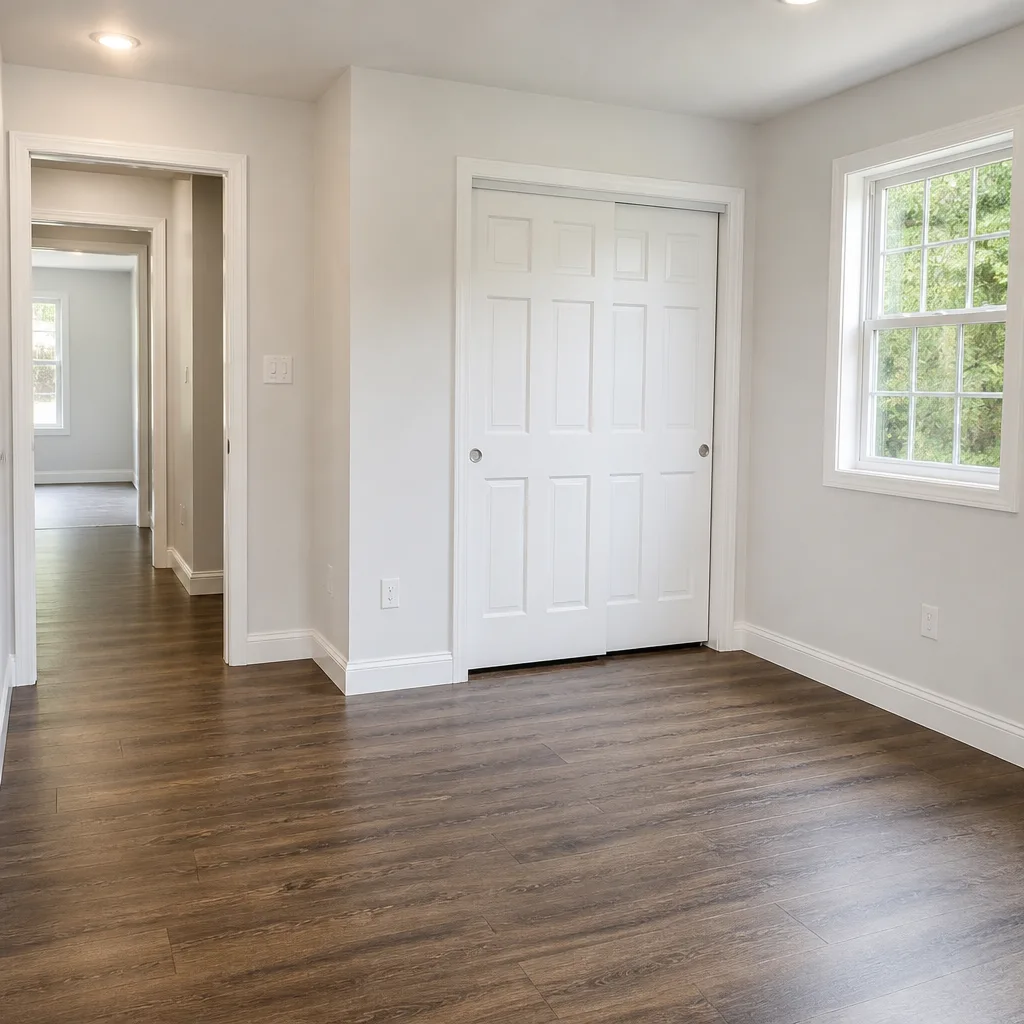 After
AfterMold Remediation Maintenance Schedule: What to Do and When
Here’s the uncomfortable truth about Mold Remediation services: the company that removed the mold finishes their job the day clearance testing passes, but the conditions that fed the mold in the first place don’t disappear with it. Roughly 30% of remediated homes in Los Angeles see moisture return to the same wall cavity or ceiling bay within two years, and the culprit is almost never a failed remediation. It’s the maintenance that didn’t happen afterward. This guide gives you the exact six-check schedule that keeps your remediation investment from becoming a recurring cost, mapped to when you should do it in LA’s specific climate.
Quick Answer
Post-remediation mold maintenance comes down to six specific checks per year: quarterly humidity logging at three key points, a semi-annual visual inspection of the remediated area, an annual HVAC coil and drain pan inspection, seasonal exterior caulk and grading checks, downspout verification before rain season, and a photo log updated every time you inspect. Done together, these take about four hours total per year and are the difference between a one-time remediation and a repeated one. For Mold Remediation Warning Signs Every Homeowner Should Know, check our dedicated guide.
Table of Contents
- The Quarterly Humidity Log: Your Three Checkpoints
- The Six-Month Inspection of the Remediated Area
- Annual HVAC Coil and Drain Pan Inspection: The Highest-ROI Mold Prevention Task
- Exterior Maintenance That Prevents Indoor Mold: Caulk, Grade, and Downspouts
- The Documentation Habit: Why Your Phone Photo Log Beats Any Sealant
- When to Do What in Los Angeles: A Seasonal Calendar
- Common Mistakes to Avoid
- When to Call a Professional
- Frequently Asked Questions
The Quarterly Humidity Log: Your Three Checkpoints
Mold needs three things to grow: a food source (drywall, wood, dust), the right temperature (77 – 86°F is peak), and moisture. You can’t do much about the first two in a Los Angeles home, but the third is fully under your control. The single most useful habit after remediation is tracking indoor relative humidity at three specific points, every quarter, with a $15 hygrometer from any hardware store.
The three checkpoints that matter are not random. Check the exact center of the remediated area first, because that’s where building materials are newest and most absorbent. Check the nearest exterior wall in the same room second, since that’s where temperature differentials create condensation. Check the bathroom that shares a wall or floor with the remediated space third, because plumbing fixtures are the most common source of hidden moisture in that zone.
Here’s the threshold framework we use in Los Angeles, where coastal humidity and inland heat create different profiles:
- Below 40% RH: You’re dry. Log it and move on.
- 40 – 55% RH: Normal range for most LA homes. Keep an eye on the trend over two consecutive readings.
- 55 – 65% RH: Start investigating. Run the exhaust fan longer, check the nearest toilet supply line for a slow weep, look at the AC drain line. This is the band where mold stops being dormant and starts preparing to grow.
- Above 65% RH sustained for more than 48 hours: This is the action threshold. You either have a water source you haven’t found or you need a dehumidifier running on a schedule. If you just paid for remediation and you’re reading 65% in the remediated room, the original moisture problem was not fully solved.
Write the three numbers down each quarter in the same note on your phone. The trend over time tells you more than any single reading. A room that creeps from 42% in March to 58% in July without any visible leak is telling you the HVAC system is not pulling enough moisture out of the air. That’s a fixable problem, but only if you catch it before the mold does.
The Six-Month Inspection of the Remediated Area
Six months after clearance testing is the most neglected window in mold prevention. Building materials have gone through a full drying cycle plus at least one seasonal humidity shift. If anything is going to telegraph a problem before it becomes visible mold, this is when it shows up. This inspection takes fifteen minutes and requires nothing but your eyes, your hands, and your phone camera.
Here’s the six-month inspection protocol we recommend to every homeowner we work with in Los Angeles:
- Look at the seams. In the remediated area, check every drywall seam, every corner bead, and every transition between the new material and the old. Hairline cracking is normal as materials settle. But if a seam has opened up enough to slide a fingernail into, moisture has a path into the wall cavity, and that’s a problem worth a call to your remediation company while you’re still inside most warranty windows.
- Touch the wall flat. Run your palm across the surface of the remediated area, not just the spots you looked at. You’re feeling for temperature differences. A patch that feels cooler than the surrounding wall by more than a degree or two indicates moisture evaporating behind it. Cool means wet, and wet means it’s time to find out why.
- Photograph everything. Take wide shots of the entire remediated area, then close-ups of the floor-to-wall joints, the ceiling corner, and any penetrations like outlets or pipes. Add them to your photo log (more on that below). Six months from now, you’ll have a baseline to compare against instead of relying on memory.
- Smell the room with the door closed overnight. Close the door for eight hours, then walk in and breathe normally through your nose. A musty or earthy smell in a room that passed clearance is not normal and is not “just how old houses smell.” It’s either new mold or the original source reactivating.
Do this before any new finish materials go in. If you’re planning to repaint, retile, or re-carpet the remediated area, the six-month mark is the right time to confirm everything is stable first. You don’t want to entomb a developing problem under a fresh layer of paint that hides the symptoms for another year while the mold keeps eating the substrate.
Annual HVAC Coil and Drain Pan Inspection: The Highest-ROI Mold Prevention Task
If your Los Angeles home has central air, the single most effective mold prevention maintenance task you can do is inspecting the evaporator coil and the drain pan once a year. This one task, taking under an hour, prevents more recurring mold problems than any sealant, coating, or antimicrobial product on the market.
Here’s why. Your AC blows air across a cold coil. That coil pulls moisture out of the air, which is exactly what it’s supposed to do. But that moisture needs to go somewhere, and it’s supposed to drip down into the drain pan and flow out through the condensate drain line. When the drain line clogs with the same dust and biological film that accumulates on every AC coil, that water backs up, spills over the pan, and soaks into whatever is underneath. In many Los Angeles homes, that’s a closet, a hallway ceiling cavity, or a wall chase. That’s the hidden water source behind a surprising number of “mysterious” mold problems that appear months after remediation in a different part of the house.
The annual checklist:
- Open the access panel and photograph the coil. You’re looking for visible mold, a thick gray or black coating, or dust that has turned into sludge. A little surface dust is normal. A wet, dark, spongy layer is not.
- Pour about a cup of water into the drain pan and watch it flow. If it pools or drains slowly, the line is clogged. A wet-vac on the drain line exit outside will often clear a mild clog. If the water doesn’t flow, the pan or line needs service.
- Check the pan itself for rust, cracks, or accumulated slime. A plastic pan with a hairline crack will drip slowly for months, saturating the drywall below and never showing a visible puddle. That’s the exact scenario that creates mold you can smell but never see.
- Replace the filter. Not quarterly, not “when you remember” – do it during this inspection, every time, no exceptions. A clogged filter reduces airflow, which makes the coil colder, which makes it condense more water, which makes the drain pan work harder. A $10 filter is the cheapest mold prevention tool you own.
If you open the panel and find significant biological growth, do not spray it with bleach and close it back up. Bleach does not penetrate porous surfaces and does not kill mold roots on coil fins. You need a professional cleaning with proper antimicrobial treatment, and you need to find out why the moisture wasn’t draining. If you’re not sure, call a mold professional. In our experience, HVAC-sourced moisture is behind roughly one in four mold recurrences we see in Los Angeles homes that were previously remediated for something else entirely.
Exterior Maintenance That Prevents Indoor Mold: Caulk, Grade, and Downspouts
The mold on your wall didn’t necessarily start on your wall. In Los Angeles, where winter brings periodic drenching rain between long dry spells, water intrusion from outside is one of the most common sources of recurring indoor mold. Three exterior tasks, done once a year, stop most of it.
Caulk: The First Line of Defense
Walk the exterior of your home once a year with a tube of exterior-grade caulk. Check every window frame joint, every door threshold, every pipe penetration, and every seam where two different materials meet. Caulk has a lifespan of about five to seven years in LA’s sun, less on south-facing walls. When it dries, shrinks, or cracks, rain follows gravity right into the wall cavity. You won’t see the moisture until it stains the interior drywall or grows mold six months later.
Focus on the walls that get the most weather. In Los Angeles, that’s typically south and west faces during winter storms. The joint between the foundation and the bottom plate, or the bottom edge of stucco, is where the most avoidable intrusion happens because it’s so easy to overlook.
Grade: Make Water Walk Away From the House
Soil settles over time. The grade that sloped away from your foundation when the house was built is now, ten years later, a subtle basin that collects water against the foundation. You want at least six inches of visible foundation wall above soil level, and you want the ground to slope away for at least six feet. If water pools against the foundation during rain, it doesn’t matter what you do to the interior – that moisture will eventually find a way through capillary action, and interior mold is the result.
Check your grade during the first real rain of the season. Walk the perimeter with a flashlight and look for pooling or puddles that touch the foundation. If you see them, regrade with compacted soil or consider a surface drain.
Downspouts: The Most Commonly Ignored Exterior Mold Control
A downspout that dumps roof water against the foundation is a mold factory. You’re concentrating thousands of square feet of rainwater into a single point of soil contact. The fix takes five minutes: add an extension or splash block that carries water at least four feet from the foundation.
Do this before Los Angeles’s rainy season begins, which means October, not January. The first real storm of the year is the one most likely to reveal that your downspout extension fell off in July, and once the water is inside the wall cavity, the damage is already underway. We’ve responded to more water intrusion calls in the first two weeks of LA rain season than in the rest of the year combined.
The Documentation Habit: Why Your Phone Photo Log Beats Any Sealant
Here’s the maintenance habit almost no remediation company tells you about, and it’s the one we tell every client we work with in Los Angeles: keep a photo log of your remediated areas on your phone. This photo log is worth more than any antimicrobial coating, sealant, or preventative product you can buy.
The logic is simple. If you ever sell your home, you’ll need to disclose past water damage and mold remediation in most California transactions. A buyer who sees a dated, ongoing photo log of the remediated area showing stable conditions over time is looking at proof, not promises. That’s the difference between a disclosure that spooks a buyer and one that closes the deal. A clean photo timeline says, “We had an issue, we fixed it, and here’s two years of evidence it stayed fixed.”
The log also matters if you ever file another insurance claim for moisture in the same area. Your insurer will ask whether the previous remediation was working. A photo log with dates and notes gives your adjuster something to work with. “The wall looked identical at month six and month eighteen, and here are the photos” is a stronger position than “I think it was fine.”
Here’s how to do it right:
- Create an album on your phone called “Mold Maintenance” and add the address in the album name.
- After every quarterly humidity check, screenshot your hygrometer readings and add them to the album.
- At your six-month inspections, take the wide shots and close-ups described above and add them with a one-sentence note: date, area, observations.
- Store the clearance testing report and any warranty documents in the same album as photos.
- Never delete the album. Even if you sell the home, export it and give it to the buyer. It adds value to the sale.
This takes two minutes per inspection. It costs nothing. And if you ever need to prove the remediation worked, you’ll have something better than a receipt: you’ll have a record.
When to Do What in Los Angeles: A Seasonal Calendar
Los Angeles has a climate unlike most of the country: long dry summers, concentrated winter rain, and a marine layer that keeps coastal neighborhoods damp in the mornings while inland valleys bake. Your maintenance schedule should follow that rhythm. Here’s the calendar that works for this city:
January – March (Rainy Season)
- Quarterly humidity log: Take your first reading of the year during a rainy week. This is when you’ll catch elevated indoor humidity that dry-season readings miss.
- Exterior walk: The day after a heavy rain, check for pooling against the foundation, downspout failure, and water stains appearing on interior ceilings or walls.
April – June (Transition)
- Six-month inspection: If your remediation was completed before winter, this is your six-month check window. Run through the visual, touch, smell, and photo protocol.
- Quarterly humidity log: Take your second reading. Coastal LA homes will often show elevated overnight humidity in May and June from the marine layer. This is normal, but log it anyway.
July – September (Dry Heat)
- HVAC inspection: Do this before the highest-demand cooling months, not after. The strain of peak summer reveals the problems; you want to find them before the coil is drenched and growing biofilm in August.
- Quarterly humidity log: Inland Los Angeles homes may actually read too dry in this season, which is fine. The goal is consistent logging, not finding a problem every time.
October – December (Pre-Rain and First Storms)
- Quarterly humidity log: Final reading of the year, ideally right before or during the first rain.
- Downspout and caulk check: Do this in October. Once the first big storm hits in November or December, it’s too late to prevent the intrusion; you’re already in response mode.
- Annual review: Set aside ten minutes before the end of the year to scroll your photo log and see if any trends stand out. The pattern across four humidity readings and two visual inspections tells you more than any single observation.
This schedule accounts for Los Angeles’s unique pattern: nearly all the moisture pressure on your home happens in three or four months. The maintenance you do in the dry months sets up your defense for the wet months. Skip the October downspout check, and you’ll find out in January that the extension was knocked off by a gardener in August.
Why Most People Skip Maintenance (And What It Actually Costs)
Let’s be honest about why maintenance schedules fail. It’s not lack of knowledge. Every homeowner knows they should check their AC filter and caulk their windows. The maintenance fails because the payoff is invisible and the cost is real time. Thirty minutes spent checking humidity feels unproductive because you’re proving something didn’t happen. That’s a hard psychological sell, which is why this section exists: to make the cost of skipping maintenance concrete.
A full mold remediation in Los Angeles typically runs $2,500 to $6,500 for a single contained area. That’s the average range for a closet, a bathroom wall, or a ceiling bay behind a leak. Add in the drywall replacement, the painting, the trim work, and most homeowners are looking at $4,000 to $8,500 all-in for a complete fix after insurance deductibles and uncovered coverage gaps.
The annual maintenance schedule in this guide costs roughly $200 to $300 per year if you pay a professional for the HVAC inspection and do the rest yourself. That’s a 15-to-1 return if it prevents a single recurrence, and that math doesn’t account for the disruption, the displaced furniture, the containment plastic, or the weeks of your life spent managing a problem that didn’t need to happen.
The highest-value check on this entire list, in our experience with Los Angeles homes, is the annual HVAC drain pan inspection. A $150 preventive service call prevents a failure mode we see over and over: a slow pan leak that nobody notices for six months, by which point the mold has spread through a ceiling cavity and the remediation cost is five figures. That’s the single best use of your maintenance dollar, and it’s the one people skip most often because it’s invisible.
Common Mistakes to Avoid
- Trusting a single clearance test as permanent protection. Clearance testing confirms the mold is gone at that moment. It says nothing about the moisture source that caused it. The source needs ongoing attention, not a certificate on a shelf.
- Using bleach on any visible mold that appears after remediation. Bleach doesn’t penetrate porous surfaces. It bleaches the surface and leaves the roots alive. If you see new mold in a remediated area, the original problem is back, and you need moisture source investigation, not a cleaning product.
- Painting over the remediated area before the six-month check. A fresh coat of paint hides early warning signs you need to see. If you must paint earlier, document the condition of the wall thoroughly first.
- Ignoring exterior water because “it’s far from the mold area.” Water travels. A downspout dumping against the foundation on the north side can saturate a wall cavity that feeds moisture to a bathroom on the south side. Exterior water is never far from the mold area.
- Forgetting the HVAC system entirely. Most Los Angeles homes run AC daily from May through October. That’s thousands of gallons of condensate moving through a drain pan per year. It’s the most consistent water source in your home, and it’s the one nobody thinks to check.
- Not keeping a photo log because you “don’t plan to sell.” Plans change, and the costs of playing catch-up on documentation later are dramatically higher than two minutes per quarter now.
When to Call a Professional
Most of the maintenance in this guide is DIY, but there are limits. If your six-month inspection shows a damp patch on the remediated wall, a musty smell you can’t trace, or a humidity reading that won’t come below 60% even with a dehumidifier running, that’s beyond a maintenance fix. You’re looking at a reactivated moisture source, and finding it properly requires professional moisture mapping tools like the thermal imaging and penetrating meters we use on every inspection. If your HVAC coil shows visible biological growth, call a professional before you run the system again, because the blower is distributing whatever is on that coil through every room in the house. And if you see water staining on a ceiling or wall that wasn’t there before, call right away. Water intrusion doesn’t fix itself. Wendell Water Damage Restoration offers free estimates throughout Los Angeles, and we put our price in writing before any work starts. Call (940) 466-4354 and a live person answers, day or night.
Frequently Asked Questions
A properly executed remediation followed by the maintenance schedule in this guide should keep a remediated area mold-free indefinitely. The remediation itself is permanent; the conditions that caused it are what you’re managing. In Los Angeles homes where we see recurrence, the gap is virtually always a missed water source or skipped maintenance, not a failed remediation.
Keep indoor relative humidity below 55%, and ideally in the 40 – 50% range. Sustained readings above 60% for more than 48 hours are the point where dormant mold spores begin reactivating. In Los Angeles, most homes can hold this range with proper AC operation and occasional dehumidifier use during rainy weeks.
Not necessarily. If your indoor humidity stays under 55% with normal HVAC operation, you don’t need one. But if your quarterly readings show elevated humidity in the remediated room, or if you live in a coastal Los Angeles neighborhood where the marine layer pushes humidity up at night, a small dehumidifier on a timer is cheap insurance.
Visually inspect every six months for the first two years, then annually after that. The six-month mark is important because it catches early signs before they become visible mold, and the first two years are when most moisture-source reactivations show up.
Most homeowner policies exclude mold or cap coverage tightly, but if the returning mold is caused by a covered water event, there may be coverage for the water damage that led to it. This is exactly why a dated photo log matters. It creates a record that shows the remediation was stable and identifies when new damage began. Document everything before you call your adjuster.
No. Antimicrobial coatings and sealants have their place in remediation, but they are a supplement, not a strategy. If the moisture source is still active, mold will grow behind the coating, through a seam, or in a neighboring bay. The maintenance schedule in this guide addresses the cause. The coating is just a secondary layer. For mold remediation in Los Angeles that addresses the source correctly, see how our process works.
The Bottom Line
A mold remediation is only as permanent as the habits that follow it. The six checks in this guide take about four hours a year and cost under a few hundred dollars, and they’re the difference between a one-time problem and a recurring one. Log your humidity quarterly. Inspect the remediated area at six months. Service your HVAC drain pan annually. Walk your exterior before rain season. Keep the photo album. Do these things, and the remediation you paid for will stay fixed. Skip them, and you’re rolling the dice on a problem you already paid to solve once. The schedule is simple. The payoff is permanent. For more guides & resources, visit our blog.
Written by Blake Sorensen, Owner at Wendell Water Damage Restoration, serving Los Angeles since 2006.