
Last updated October 9, 2026
Free visual inspection and a written scope of work before any mitigation begins - photos, moisture readings, and drying logs go in your claim file
The scope we write is the scope we bill. Anything new gets shown to you, in writing, before we touch it.
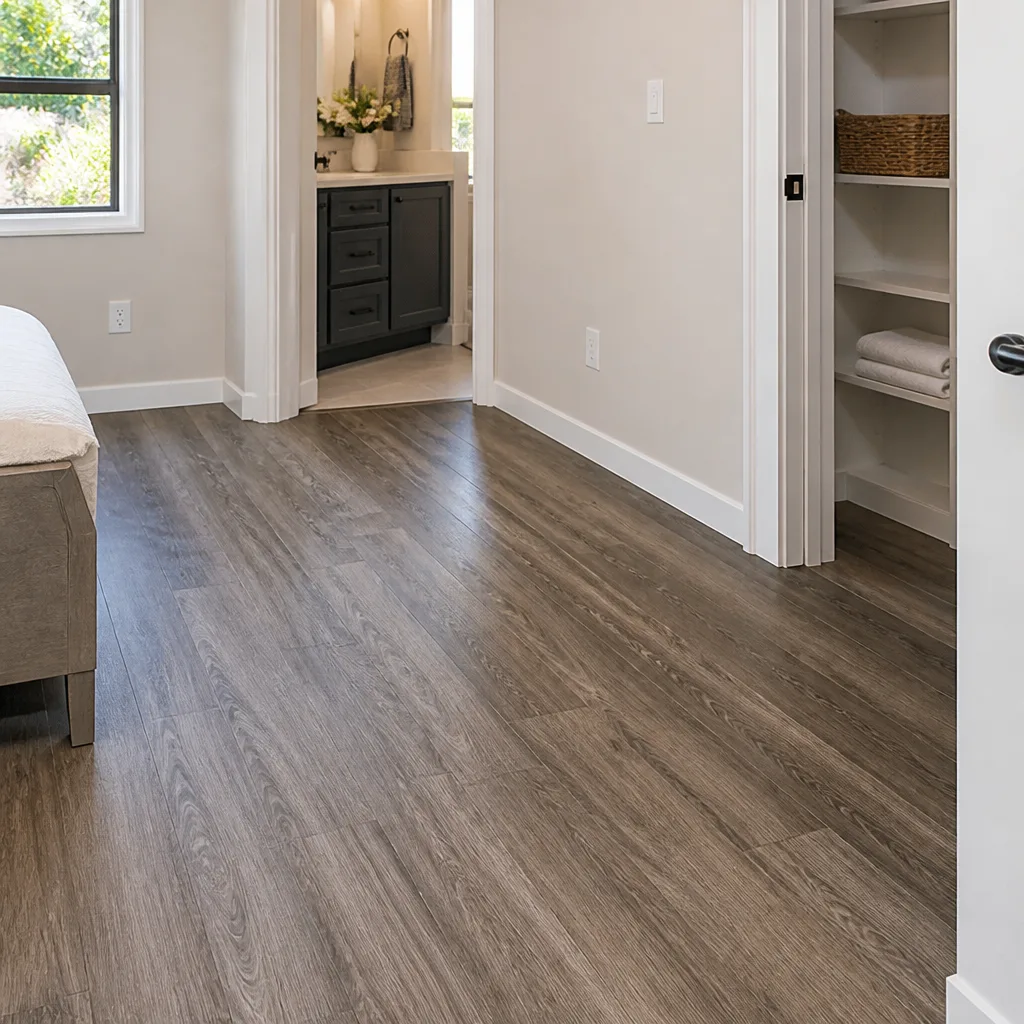

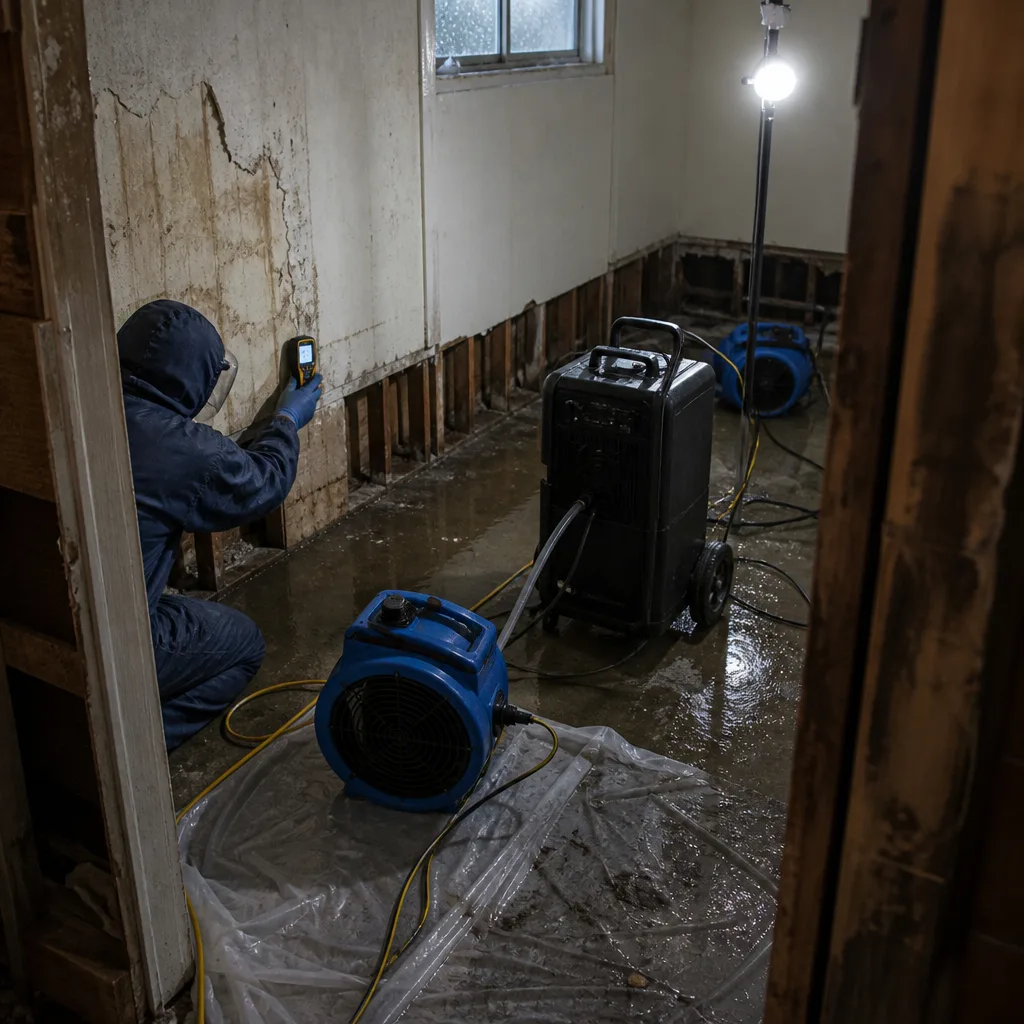 Before
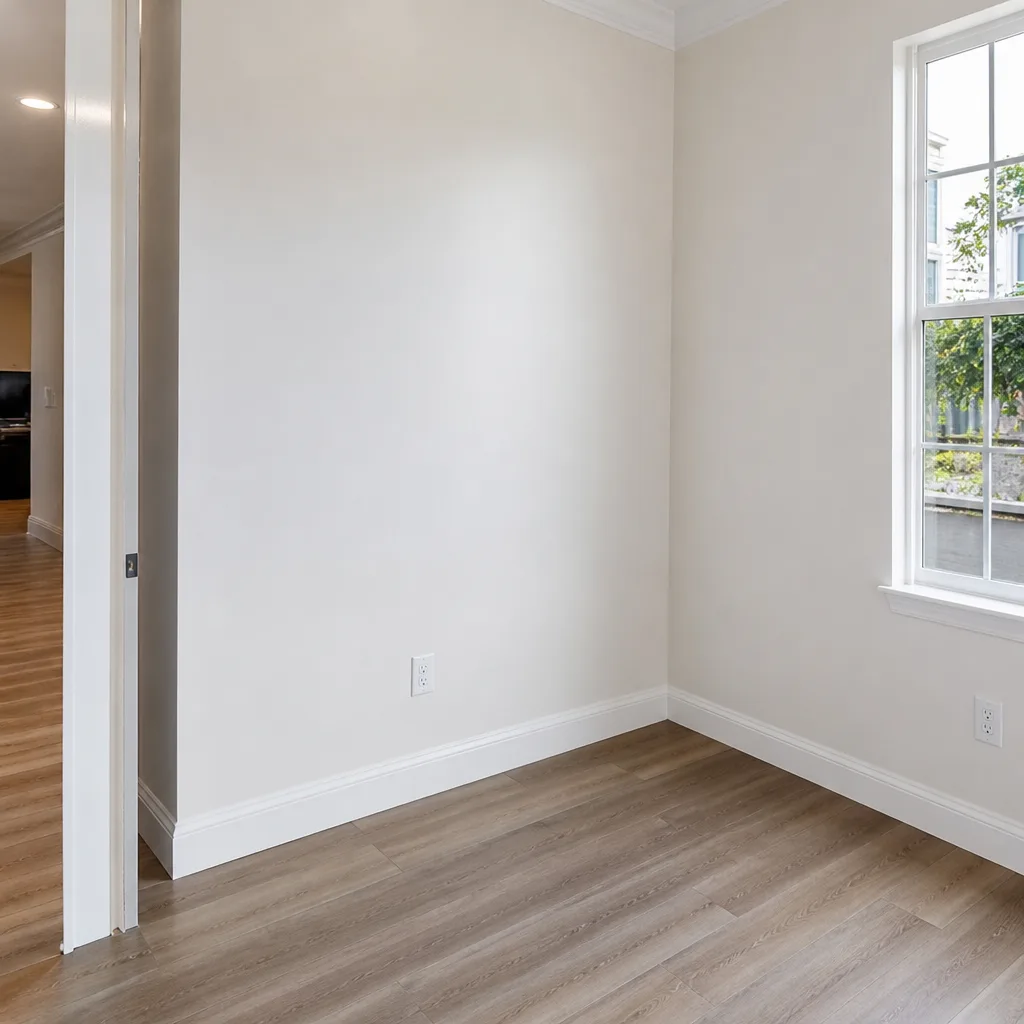 After
After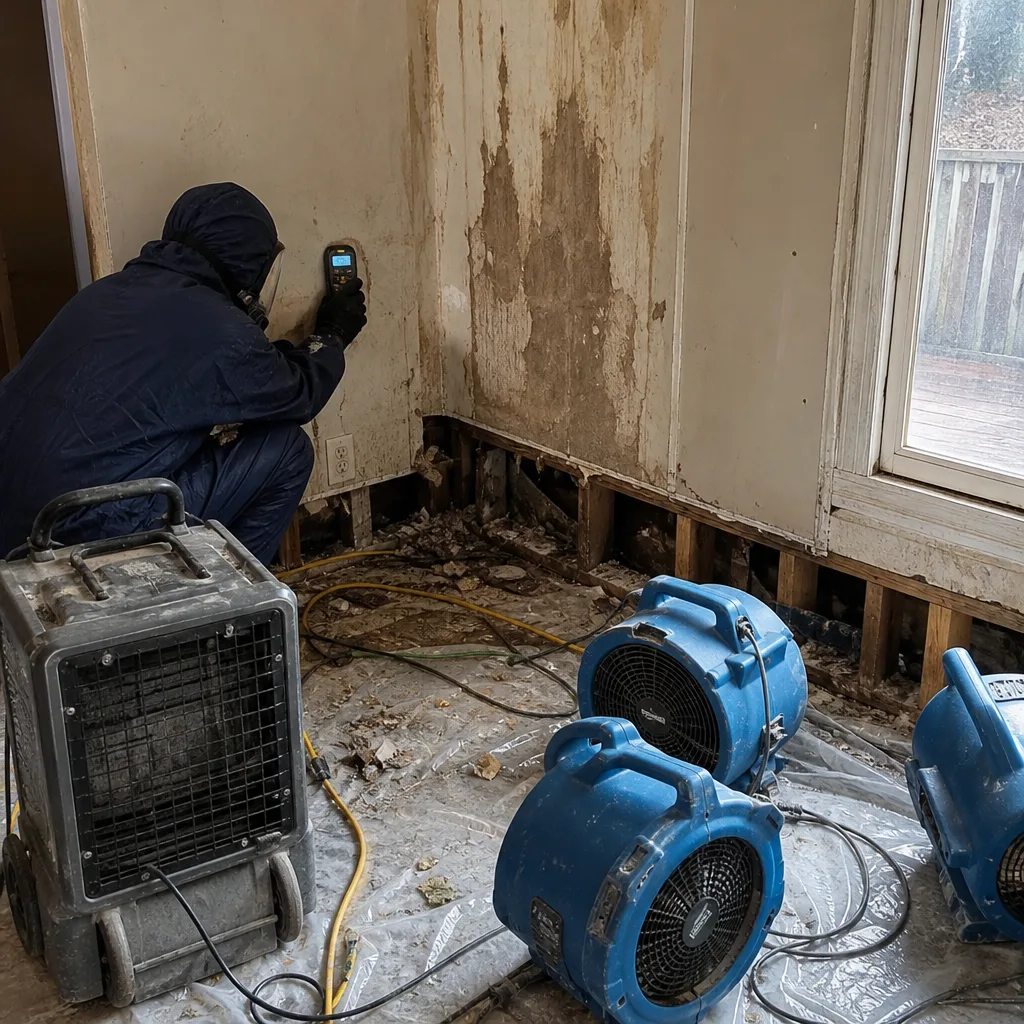 Before
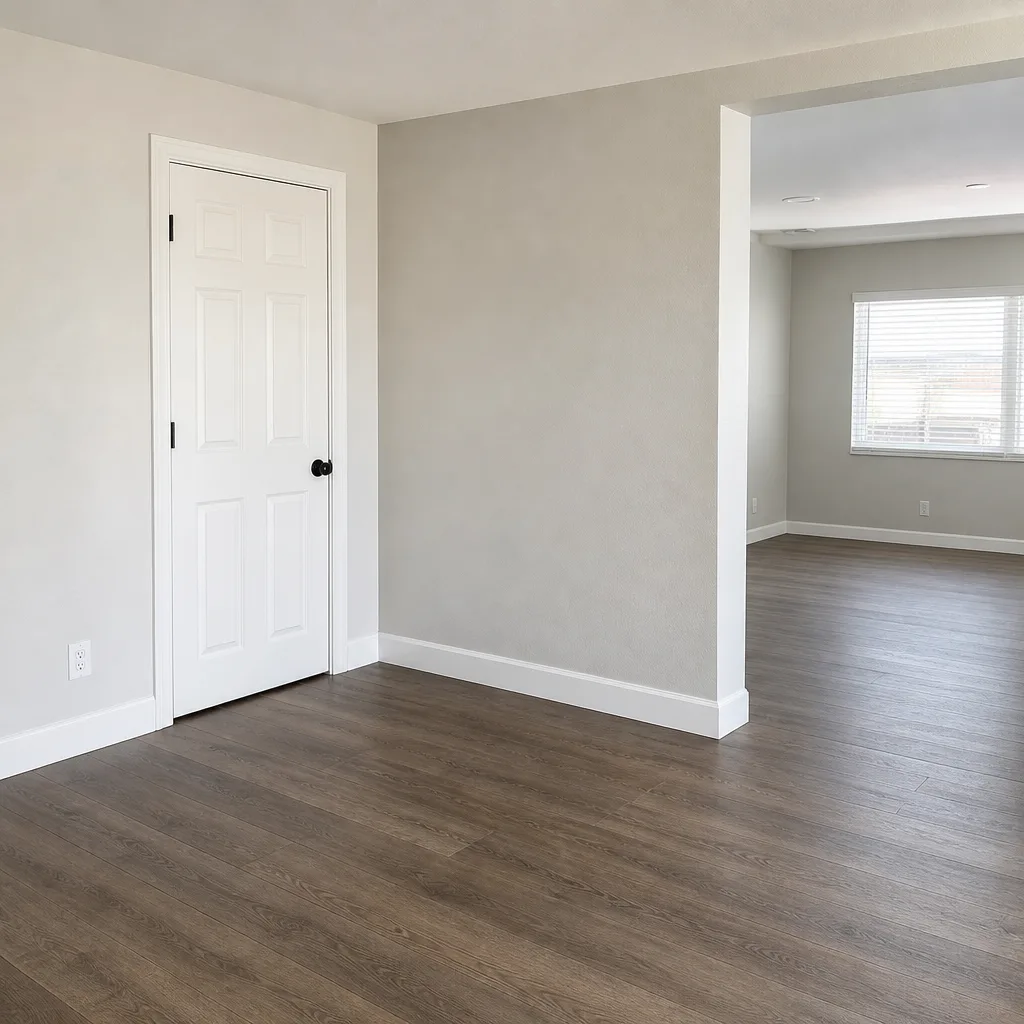 After
After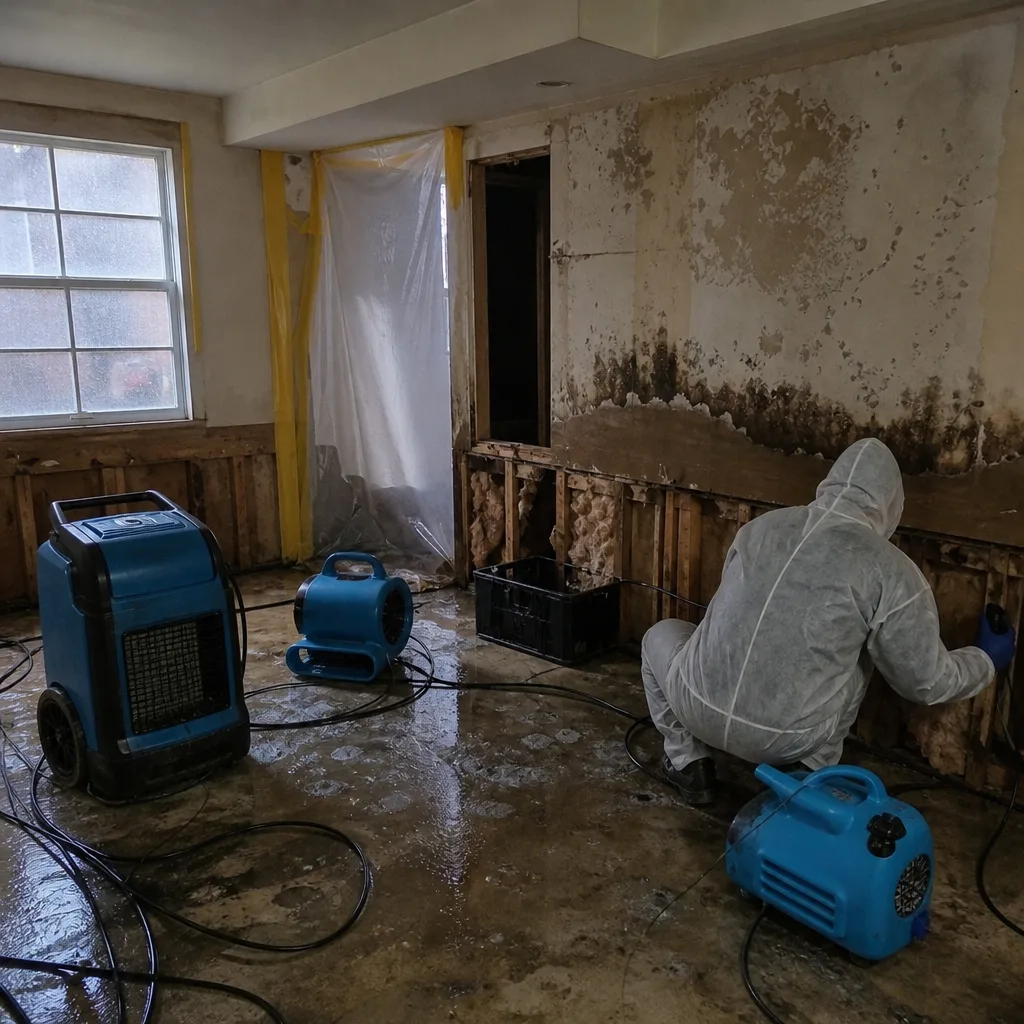 Before
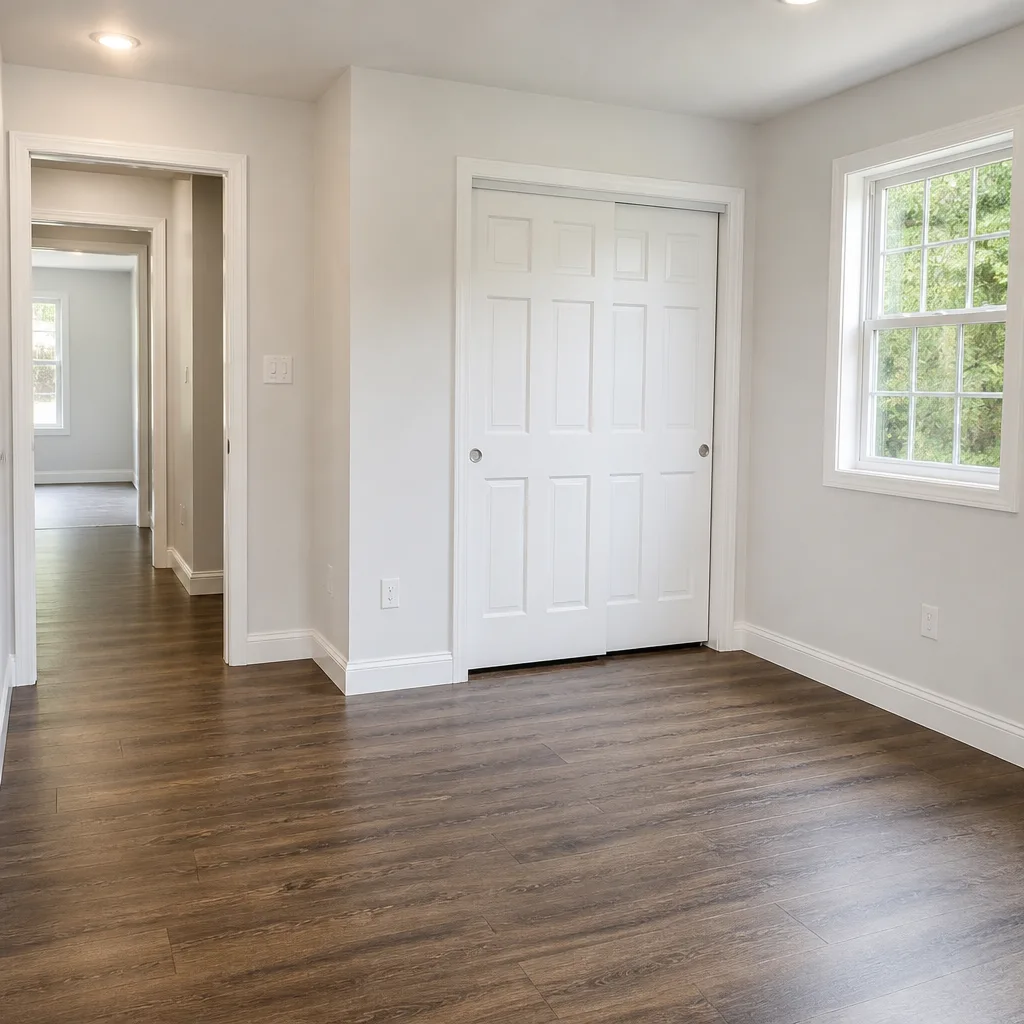 After
AfterWater Damage Restoration Maintenance Schedule: What to Do and When
Restoration companies get paid to dry your home, not to follow up six months later. That means the inspection that would catch a slow re-wet behind your baseboard is entirely on you unless you know it exists. Here’s the uncomfortable truth we’ve learned from drying thousands of Los Angeles homes: moisture has a memory. It hides in wall cavities, under vinyl plank, and behind kitchen toe-kicks for weeks after a job looks finished. This guide gives you a month-by-month maintenance schedule for the first year after our Water Damage Restoration services and the annual checks that come after. You’ll learn what to press, sniff, photograph, and when to call a pro instead of guessing.
Quick Answer
A water damage restoration maintenance schedule should include: a 30-day post-restoration moisture check, quarterly visual inspections for the first year, seasonal adjustments for Los Angeles weather patterns, an annual appliance supply line and shutoff valve test, and an HVAC condensate line cleaning every 6 to 12 months. The 30-day walk involves pressing walls and floors for softness, sniffing for musty odors, and photographing any suspicious spots. Most repeat water losses in Los Angeles come from appliance supply lines, not weather, which means 15 minutes of annual maintenance prevents the majority of second claims.
Table of Contents
- The 30-Day Post-Restoration Walk: What to Press, Sniff, and Photograph
- Quarterly Checks: Your First-Year Moisture Monitoring Rhythm
- Los Angeles Seasonal Protocols: Marine Layer Winters vs. Santa Ana Falls
- The 15-Minute Appliance Supply Line and Shutoff Valve Check
- HVAC Drain Pans and Condensate Lines: LA’s Most Common Non-Weather Water Source
- Post-Restoration Clearance Testing: When to Schedule It and What a Legit Report Contains
- How to Read a Moisture Meter Without Overtreating
- Common Mistakes to Avoid
- When to Call a Professional
- Frequently Asked Questions
- The Bottom Line
The 30-Day Post-Restoration Walk: What to Press, Sniff, and Photograph
Thirty days after your restoration crew packs up the drying equipment is the single most important inspection you’ll ever do. Here’s why: materials dry from the outside in. Drywall can read 8% moisture content on the surface while the bottom plate behind it still holds 20%. Psychrometric drying (tracking the air’s moisture level so we know when your home is truly dry, not just surface-dry) gets most of the water, but building materials release what’s called bound water slowly. That residual moisture migrates toward the surface over the following weeks. If it’s going to rebound and cause a problem, day 30 is when you’ll catch it before it becomes a mold claim.
What to press
- Baseboards at the bottom edge. Use your thumb. Press firmly along the bottom 2 inches where baseboard meets flooring. Spongy or soft spots mean water is still moving through the wall cavity.
- Drywall seams near the original damage site. Look for hairline cracks, bubbling paint, or slight discoloration. Press around outlet covers too; those cutouts expose the wall cavity and are often the first place moisture shows.
- Flooring transitions and plank joints. If you have vinyl plank or laminate, press each seam near the affected area. Cupping, lifting, or gaps wider than when the job finished mean subfloor moisture is still active.
- Cabinet toe-kicks in kitchens and baths. These are the most forgotten spaces in a restoration. Water wicks under cabinets and sits against the toe-kick backing. Press it. If it flexes more than it should, that cavity never fully dried.
What to sniff
Get your nose within 6 inches of the affected area. Musty, earthy, or “old basement” smells (even in a Los Angeles house with no basement) are volatile organic compounds released by microbial activity. If you smell anything that wasn’t there before the water event, do not wait. Call for a moisture assessment. We’ve seen mold colonies establish in 48 to 72 hours after a re-wet, and by day 30 they’re producing odor but still invisible behind drywall.
What to photograph
Take photos of everything: the original damage area, adjacent walls, flooring, baseboards, and cabinet interiors. Stand 3 feet back for context shots, then move in for close-ups. These photos are your documentation. If a problem develops, a restoration company (including us) can compare your photos against the post-job readings and pinpoint exactly what changed. Photo documentation matters for insurance too. If you’re filing a supplemental claim for a rebound moisture issue, adjusters respond faster when they can see the visual timeline.
If your original restoration was done by Wendell Water Damage Restoration home technicians, your post-job report includes reference photos and moisture readings. Compare your day-30 photos against those.
Quarterly Checks: Your First-Year Moisture Monitoring Rhythm
After the 30-day walk, set a recurring calendar reminder for months 3, 6, 9, and 12 post-restoration. Each check takes under 20 minutes. Here’s the rhythm we recommend after drying homes across Los Angeles, from Venice bungalows to Sherman Oaks split-levels, and you can find more guides & resources to help protect your home.
- Month 3: Visual scan. Walk the affected area and the room below it (if the damage was on a second floor). Look for paint bubbling, warped baseboards, or nail pops in drywall. Nail pops appear when framing lumber expands from moisture and pushes the fastener head through the surface.
- Month 6: First moisture meter reading. If you don’t own one, a decent pinless meter costs $25 to $45 at any hardware store. Take readings on the restored wall, an adjacent unaffected wall (your control reading), and the floor. A restored wall should read within 2 to 3 percentage points of your control wall. Anything more means call a pro.
- Month 9: Seasonal transition check in Los Angeles. This timing matters here specifically. Late summer into fall brings Santa Ana conditions: single-digit humidity, high heat. That dry air pulls moisture out of surfaces fast, which is good, but it can also cause a false sense of security. Re-check seams and joints for opening that indicates materials dried too quickly and are now unstable.
- Month 12: Full anniversary inspection. Repeat the month-3 and month-6 checks together. This is also the right time to schedule your annual appliance line check (covered below) and decide whether you want a professional clearance test.
One thing homeowners in Los Angeles frequently miss: if your restoration involved a slab foundation, quarterly checks should include looking for new hairline cracks in the slab near the water source. Clay soil in parts of Los Angeles expands and contracts dramatically with moisture changes. A slab that was saturated and then dried can shift slightly. New cracks that appear months after restoration deserve a professional look.
Los Angeles Seasonal Protocols: Marine Layer Winters vs. Santa Ana Falls
Los Angeles doesn’t have four seasons the way Chicago or Boston does, but it has two moisture patterns that affect post-restoration risk in very different ways. Understanding them changes what you check and when.
Winter: The marine layer problem
From roughly November through March, overnight marine layer pushes relative humidity up, often into the 70 to 80 percent range in coastal neighborhoods from Santa Monica through Long Beach. Interior spaces that were restored and sealed up can hold that humidity against the very materials that were recently dried. Here’s what happens: your walls and floors are hygroscopic, meaning they absorb water vapor from the air. A restored wall at 10 percent moisture content in August can creep up to 14 or 15 percent by January simply from ambient humidity. That’s not a problem by itself, but if there’s still residual moisture deep in the framing from the original event, elevated ambient humidity slows the drying process and extends the risk window for microbial growth.
What to do in winter: Run a dehumidifier in the restored area when outdoor humidity exceeds 60 percent for more than 3 consecutive days. A $200 portable unit set to 45 to 50 percent relative humidity is sufficient for most rooms. Check window condensation every morning. If interior windows are weeping, your indoor humidity is too high and you need to address ventilation or dehumidification.
Fall: The Santa Ana problem
September through November brings Santa Ana winds: hot, dry air flowing from the high desert toward the coast. Outdoor humidity can drop below 10 percent for days at a time. For restored materials, this creates a different risk: rapid surface drying that outpaces the moisture deeper in the material. Wood framing, drywall, and flooring all have different drying rates. When the surface dries too fast, materials shrink unevenly, which causes cracks, gaps, and seam separations. We’ve seen this in Los Angeles homes in the Valley, where Santa Anas hit hardest. A house restored in July can look perfect, only to develop visible gaps at crown molding and baseboards when the first Santa Ana event hits in October.
What to do in fall: Inspect all seams, joints, and transitions for new gaps. Check caulk lines around tubs, sinks, and exterior doors that were affected by the water event. If you see new cracking, it doesn’t necessarily mean the restoration failed; it means materials dried unevenly. But it does mean water can now enter those gaps, so seal them or call a pro to assess. Our Water Damage Repair in Los Angeles service includes seam and joint inspection as part of the scope when we do post-restoration evaluations.
The 15-Minute Appliance Supply Line and Shutoff Valve Check
Here’s the statistic that should change how you spend 15 minutes every year: in our experience across Los Angeles, appliance supply line failures cause more water damage claims than weather events. Washing machines, dishwashers, refrigerator ice makers, and water heaters all connect to your plumbing via flexible supply lines. Those lines are rubber or braided stainless steel, and both types fail. Rubber dry-rots. Braided lines fail at the crimp fittings. The failure is almost always gradual, which means a 15-minute annual check catches it before it bursts.
The procedure
- Locate every supply line. Check behind the washing machine, under the kitchen sink (two lines), behind the dishwasher (access from under the unit), behind the refrigerator if it has an ice maker, and at the water heater (two lines on top).
- Inspect each line visually. Look for bulges, cracks, discoloration, or green corrosion at the fittings. Any of these mean replace the line. A braided stainless line costs $8 to $20 at any hardware store in Los Angeles and takes 10 minutes to swap.
- Test the shutoff valve. Each appliance has a dedicated shutoff valve. Turn it clockwise until it stops, then back it open a quarter turn. If it’s seized, won’t turn, or drips when closed, replace it. A seized valve means you can’t stop water when you need to, and that turns a $20 fix into a $6,000 restoration.
- Check the water heater pressure relief valve. This one’s often forgotten. The valve on the side of the tank prevents pressure buildup. Lift the lever briefly; water should flow and then stop when you release. If it doesn’t flow or won’t seat properly, call a plumber. A failed relief valve is a flood waiting to happen.
Do this every January or whenever you change smoke detector batteries. Tie it to an existing annual ritual and it actually gets done. If you’d rather have a trained eye do it, our Water Damage Restoration in Los Angeles technicians include appliance line and shutoff valve inspection as part of every post-restoration service visit.
HVAC Drain Pans and Condensate Lines: LA’s Most Common Non-Weather Water Source
Your air conditioner produces gallons of water every day it runs in Los Angeles. On a hot August day in the San Fernando Valley, a central AC system can pull 5 to 10 gallons of condensate out of the air. That water collects in a drain pan under the evaporator coil and flows through a condensate line to the outside or to a drain. When that line clogs, the pan overflows, and the water goes somewhere: into your ceiling, down your walls, or onto your floor. This is the single most common non-weather water damage source we respond to in Los Angeles.
The clog mechanism is simple. Dust, skin cells, and pet hair get pulled into the HVAC system, and the moisture in the coil area turns that debris into sludge. Algae grows in the sludge because the condensate line is dark and wet. That algae and sludge narrows the line until it blocks completely. Then your AC keeps producing water, the pan fills, and the overflow happens.
Maintenance protocol
- Every 6 months: Pour 1 cup of white vinegar or a commercial condensate line cleaner into the condensate line access point (usually a T-fitting near the indoor unit). This kills algae and flushes loose debris. Do this in April before cooling season starts and again in October after it ends.
- Every 12 months: Visually inspect the drain pan. It should be dry when the AC has been off for a few hours. Standing water means the line is partially clogged. Check the pan for rust or cracks, especially if your system is older than 10 years.
- If you have an older Los Angeles home: Many houses built before 1980 have evaporator coils installed in attics without secondary drain pans or with pans that drain poorly. If your AC unit is in the attic, check the area around it every 90 days during cooling season for any water staining on the plywood or ceiling below.
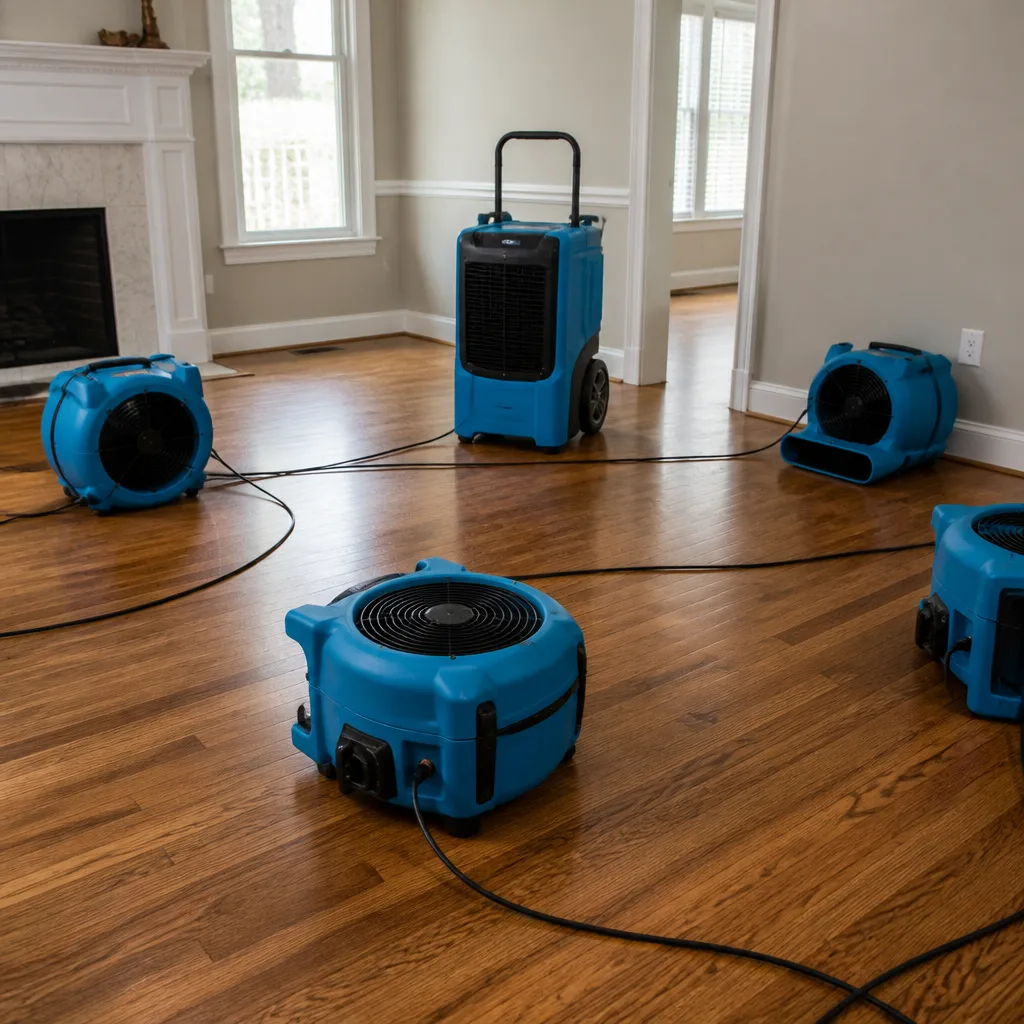
When we dry homes after HVAC overflow in Los Angeles, we typically deploy Dri-Eaz and Phoenix drying equipment (the same units used on large commercial loss sites) because the water often saturates ceiling drywall and insulation before anyone notices. The restoration is standard; the prevention is the 6-month vinegar flush. Skipping it is the most avoidable insurance claim you’ll ever make.
Post-Restoration Clearance Testing: When to Schedule It and What a Legit Report Contains
Clearance testing answers one question: did the restoration actually work? It’s typically done by an independent indoor environmental professional, not by the restoration company that did the work. In Los Angeles, clearance testing after a mold-related water damage job costs roughly $350 to $700 depending on the size of the affected area and the number of samples taken.
When to schedule it
- After any mold remediation. This is non-negotiable. If mold was found and removed, a clearance test verifies the spore count in your home has returned to normal background levels. Without it, you’re taking the remediation company’s word that the problem is gone.
- When the water event involved sewage or Category 3 water. Contaminated water carries bacteria and pathogens. A clearance test after sewage remediation confirms the space is safe to occupy without ongoing health risk.
- When the affected area includes a bedroom, nursery, or space occupied by someone with respiratory conditions, autoimmune issues, or mold sensitivity. These occupants need a verified clean environment, not just a dry one.
- If you notice musty smells or health symptoms in the months after restoration. Schedule the test immediately. Don’t wait for the quarterly check.
What a legitimate clearance report contains
A legit post-restoration clearance report in Los Angeles should include: an exterior air sample (your baseline control), one or more interior air samples from the affected areas, and a comparison showing interior spore counts at or below exterior levels for the species detected. It should also include surface samples from the remediated materials (not just air samples), moisture content readings confirming dry conditions, and a written statement from the inspector that the area passes clearance criteria established by current industry standards. If a report only contains a single air sample with no outdoor comparison, it doesn’t prove anything. If a restoration company offers to do its own clearance test, decline. Independent testing is the entire point.
Our Mold Remediation in Los Angeles work always includes a written scope before any treatment starts, and we recommend independent clearance testing after every mold job we complete. The 365-Day Done Right Promise means if the clearance test shows the job wasn’t done right, we make it right, backed by a written guarantee.
How to Read a Moisture Meter Without Overtreating
A moisture meter is the single most useful tool a homeowner can own after water damage restoration. A pinless meter (which reads through surfaces using electromagnetic waves, no holes required) costs $25 to $45 and takes 30 seconds to learn. But the mistake we see homeowners make in Los Angeles is misreading the numbers and either ignoring a real problem or panicking over a normal reading.
Here’s how to use it correctly:
- Establish a control reading first. Test a wall or floor in an unaffected part of your home, ideally in the same room type and on the same floor. That’s your baseline. In Los Angeles, which has generally low ambient humidity, normal interior drywall reads between 6 and 10 percent moisture content. Wood framing reads 8 to 12 percent.
- Test the restored area. Take readings at multiple points: the center of the affected wall, the baseboard line, and any corners or seams. Compare to your control. A difference of 3 percentage points or less is within normal variation. A difference of 5 or more means moisture is present and should be investigated.
- Understand what the number means. A drywall reading of 12 percent in a Los Angeles home with a control wall at 7 percent is a red flag. But a reading of 12 percent with a control wall at 10 percent (common in coastal areas during marine layer season) is probably normal seasonal variation. Context matters more than the absolute number.
- Track trends, not snapshots. Take readings monthly for the first three months after restoration. A slow upward trend is more concerning than a single high reading that drops the next time you check. If numbers climb over three consecutive checks, call a professional.
We use professional-grade moisture meters from Dri-Eaz and XPOWER on every Wendell job. The consumer models work fine for monitoring, but the professional units can read deeper into materials and distinguish between surface condensation and actual moisture in the substrate. If your home meter shows concerning readings, a professional assessment will confirm or rule out the problem.
Common Mistakes to Avoid
- Assuming the restoration company will follow up. Most restoration companies in Los Angeles do not offer post-job moisture monitoring as a standard service. The follow-up is on you unless you specifically ask for it and pay for it. Don’t assume. Confirm at the time of service what post-restoration follow-up is included, if any.
- Checking only the visible damage area. Water travels downward and sideways through wall cavities, under flooring, and along framing. A restoration that dried the kitchen floor may have missed water that wicked into the adjacent dining room wall. Always inspect the rooms adjacent to and below the original damage site.
- Relying on smell alone to detect problems. Many people in Los Angeles run air purifiers, burn candles, or have HVAC systems that mask subtle musty odors. If you’re relying on your nose, you’re missing problems that a moisture meter would catch. Use both.
- Ignoring high winter humidity as a “coastal thing.” Yes, marine layer humidity is normal in coastal Los Angeles, but elevated humidity inside your home is not. If your restored area is running at 60 percent relative humidity or higher in winter, that’s an environment where mold can grow regardless of whether the original restoration was done correctly.
- Skipping the appliance line check because “it’s still working.” Supply lines fail without warning. The line that bursts at 3 a.m. on a Tuesday was visibly deteriorated for months before it failed. The 15-minute annual check catches that deterioration. Skipping it because the appliance works is like skipping an oil change because the car still drives.
- Assuming a clearance test is only for mold jobs. Any water damage involving contaminated water (sewage, toilet overflow, outdoor flood water) warrants clearance testing. Bacteria and pathogens don’t show up on a moisture meter, but they do show up in lab results. If you had Category 3 water in your Los Angeles home, get the test.
- Painting over water stains without checking moisture first. A water stain on drywall or a ceiling after restoration may be old and cosmetic, or it may indicate active moisture. Priming and painting over active moisture locks water in and creates a perfect mold environment behind the paint. Check moisture first, paint second.
When to Call a Professional
Some post-restoration issues need professional equipment and training. Call a professional if your moisture meter shows readings 5 percentage points or more above your control wall on two consecutive checks. Call if you find soft drywall, bubbling paint, or warped flooring in or near the restored area, regardless of what the meter says. Call if musty odor persists after 30 days or appears any time in the first year. Call if you see visible mold growth anywhere in the home, even if it’s in a different room from the original damage. And call if you find water where water shouldn’t be: under cabinets, behind appliances, or pooling around the water heater. Wendell Water Damage Restoration offers free estimates in Los Angeles; call (940) 466-4354 and a live person answers, 24/7.
Frequently Asked Questions
Most residential water damage restoration jobs in Los Angeles take 3 to 7 days for the drying phase, with an additional 1 to 2 weeks for any structural repairs like drywall replacement or flooring. Drying time depends on the water category, the materials affected, and how quickly the water was discovered. Restoration companies use psychrometric drying (tracking the air’s moisture level so we know when your home is truly dry, not just surface-dry) to verify completion, not just a visual check.
The restoration worked if moisture readings in the affected materials return to within 3 percentage points of unaffected control materials, if no musty odor returns within 30 days, and if no visual signs (bubbling, warping, staining) develop in the following months. If you had mold remediation, a passing independent clearance test is the definitive verification. Without a clearance test, you’re relying on a company’s word that the job was done right.
It depends on the source and your policy. Most homeowners insurance policies in California cover sudden and accidental water damage from burst pipes or appliance failures, even if it’s a repeat occurrence at a different line or appliance. However, damage from a slow leak that was detectable for weeks or months is typically denied as a maintenance issue, not a covered loss. Document your maintenance checks with dated photos; if you can show you inspected supply lines six months prior and the failure was sudden, your claim is stronger. Call (940) 466-4354 for guidance on photo documentation for insurance purposes.
Check at 30 days, then every 3 months for the first year, with extra attention during Los Angeles marine layer season (November through March) and the first Santa Ana event of fall (typically September or October). After the first year, shift to an annual schedule tied to a recurring date, like January 1 or when you change smoke detector batteries. The first year is the highest-risk period for rebound moisture.
Yes, running a dehumidifier in the restored area during high-humidity periods is one of the most effective preventive steps you can take. Set it to maintain 45 to 50 percent relative humidity in the affected space. During marine layer season in coastal Los Angeles, a portable dehumidifier in the restored room can mean the difference between materials staying dry and ambient moisture creeping back into porous surfaces. Empty the tank daily or set up a continuous drain line.
Yes, a pinless moisture meter costs $25 to $45 and is the single best tool for post-restoration monitoring. It gives you objective data instead of guesswork. The key is using it correctly: establish a control reading on an unaffected wall first, then compare. We use professional-grade meters from Dri-Eaz and XPOWER on our jobs, but consumer pinless meters are accurate enough for monitoring purposes. If yours shows concerning readings, schedule a professional assessment before taking any action.
The Bottom Line
Water damage restoration doesn’t end when the equipment leaves your Los Angeles home. The 12 months that follow are when slow rebounds happen: hidden moisture migrating back to the surface, supply lines reaching the end of their life, HVAC condensate lines clogging with algae, and marine layer humidity testing the integrity of the restoration. A 30-day walk with pressing, sniffing, and photographing catches early rebounds. Quarterly moisture checks track trends. Seasonal adjustments account for Los Angeles’s two distinct moisture patterns. And the 15-minute annual appliance check prevents the most common repeat losses. None of this requires special training or expensive equipment, but it does require a calendar and follow-through. If you find something concerning, don’t guess. Call (940) 466-4354 for a free estimate, and you’ll get a written price before any work starts.
Written by Blake Sorensen, Owner at Wendell Water Damage Restoration, serving Los Angeles since 2006.